|
I've been talking to some mom's and just busy ladies in general, and the one thing they tell me is "I need some tricks to save me time while doing my makeup but still look like I have makeup on". So I thought on that for while, makeup is like therapy for me I get lost in it and I love to have plenty of time to do it. However, there are those times when I am on a set time frame and we've all woke up late before so here's my best tips and tricks to save you time while still looking "put together". 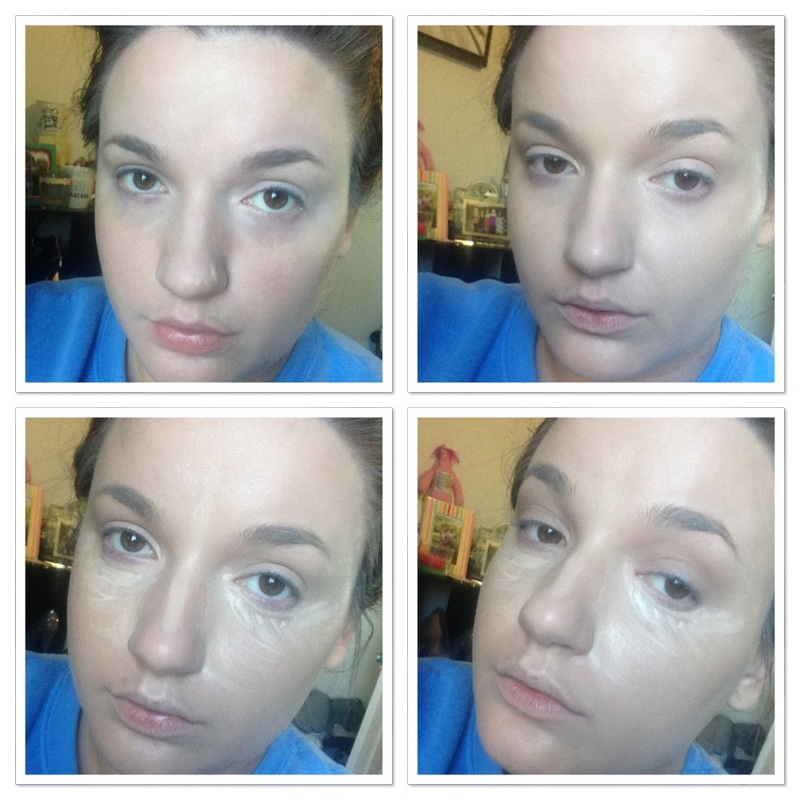 Starting with a fresh face, the first tip I can give you is: Use a BB Cream or CC cream, one that has a tint is good. For this I used Dr Jart+ Black Label Detox BB Cream and added some Cover FX custom cover drops for pigment. A really good one is the IT Cosmetics CC Cream however, the shade range isn't great. Also the Smashbox BB Cream is a cult favorite. Mainly why this is a tip is because its: primer, moisturizer, concealer and coverage all in one. So even though I do recommend using a real moisturizer and primer as much as you can, in a pinch this would work fine. The one thing it won't do very well is correct dark circles, so I do cancel those out no matter what. I use NYX Dark Circle corrector in Medium. It also won't give you the fullest coverage. Which is why most people use a foundation over a BB Cream. I added Custom Cover Drops for not only color but added coverage as well. Next is highlighting/brightening/concealing under eye area and high planes of the face. So I used the Maybelline Lumi Pen. The Urban Decay Naked Skin concealer is even better, MAC Pro Longwear concealer is a good choice and can also be used as eye shadow primer. What I do is I highlight with this pen and I let it set while I do my shadow. Accomplishing several things: 1) using the "baking" technique for fuller coverage and more prominent highlight the longer is sits 2) making it easy to clean up any fall out from your eyeshadow and 3) giving more coverage over all to the face in the areas it was applied. 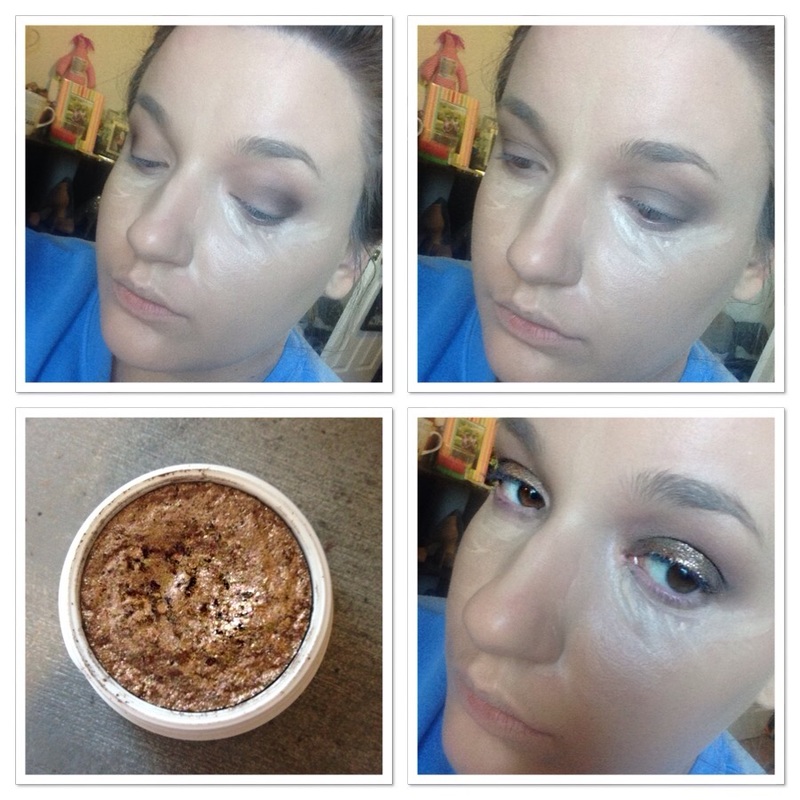 Ok so scooting right on over to shadow this is one of those times when you really need a product that makes a statement on it's own. So first apply a crease color after you put on primer, I chose Noble from Mi Vida Loca Remix palette but Peach Smoothie from MUG would work fine or Beaches and Cream. Then I went in with a darker brown with a smaller brush on the outer lid and blended it with the same fluffy brush I used for my crease. Next I used Colour Pop "Nillionaire" shadow. Which is a glittery golden brown shadow. I apply it with my finger it's intensely pigmented and I apply it all over the lid. It doesn't usually require any blending so you're pretty much good to go. 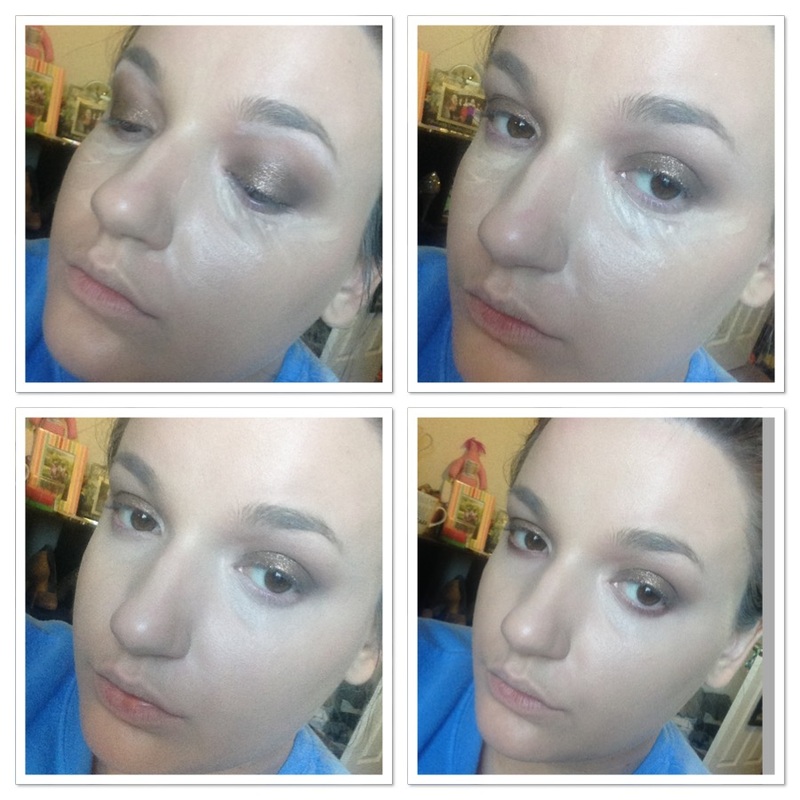 So here is a step that you can do or not. It doesn't make or break the look. So what I do is I take a pencil, in this I used the Benefit Eye Bright pencil, to highlight the underneath of the brow and then I just blend it out. On the lower lash line I use a brown eyeliner and smudge it. Now if you apply it too heavily it will melt so you can use a brown shadow just the same. After that I blend out the concealer with my ring finger you could use a brush if you wish or a beauty blender but I use my finger to save time and to pat the concealer in to get the most coverage. 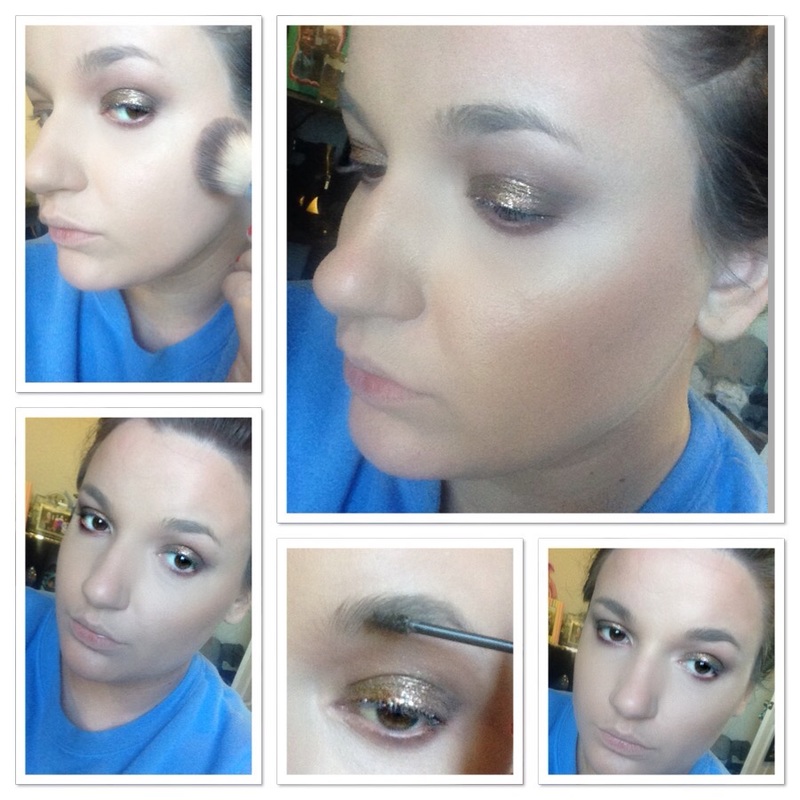 My next tip is use a powder that will both set and highlight. I used Hourglass Ambient Lighting in Diffused Light but MAC pro shade in Emphasize is great too. Of course any light shade will work to set. Highlighting is just an option. Do not use something super shimmery to set though. Next use a bronzer in a shade to where you can use it as contour, bronzer, and blush. So I used Makeup Forever Fusion Bronzer in shade 20M. The big picture is just showing you how subtle and glowy it looks. Next I used a tinted brow gel. I truly do recommend the Benefit Gimme Brow for this. It's got the best color and plus it has fibers in it so that it fills in your brows somewhat while it shapes them. Next if you still need some filling in you can use a brow pencil to touch up any sparse areas. 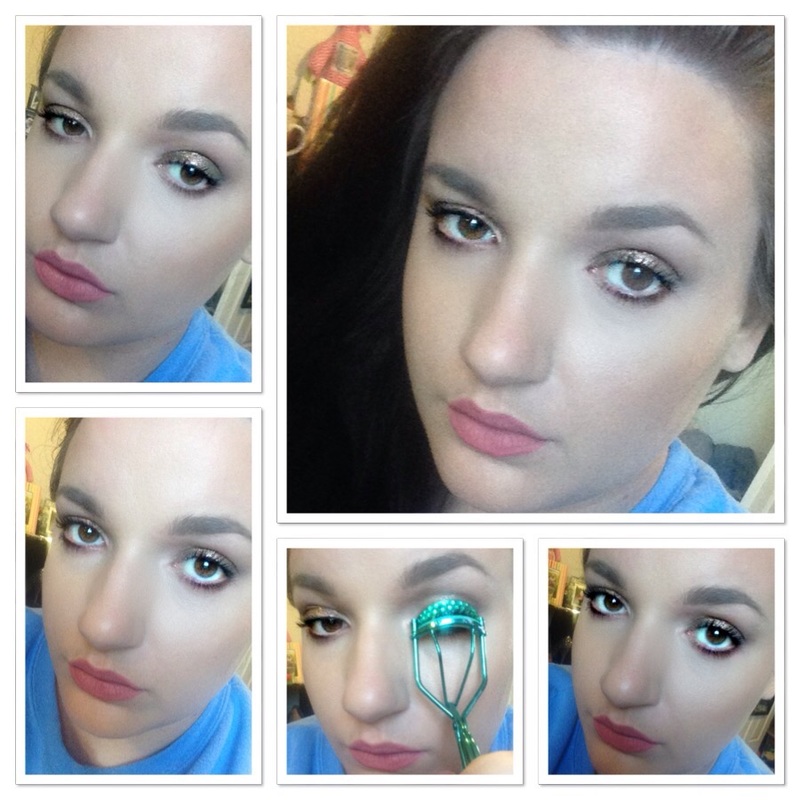 My next tip is to use a liquid lipstick close to your natural lip color because when it wears off after so many hours it won't be as noticeable. Also take it with you for touch ups. I'm using Lovely form ABH in this. One of the last things I do is mascara. I would recommend lashes if you are quick with them. That's the route I go, if you are not then this next tip is to beef up your lashes although I don't recommend doing this all the time cause it's rather harsh. So I curl the lashes first, then apply mascara, wait for the coat to dry and curl them again and re apply. I use Urban Decay Perversion mascara and L'Oreal Carbon Black Voluminous mascara they're very similar to me. I use a mascara that thickens and then one that lengthens last. So I curl the lashes before mascara, after the first coat has dried and after the second coat has dried, then apply the last coat that is supposed to lengthen. "Lengthen" being the operative word. The reason I curl after mascara is because it holds the curl so much better and makes my lashes which are thin and short seem longer. I don't use liner. That's time consuming especially if you want a wing. At best I would tight line or smudge liner on the lash line.
Lastly I use a setting spray. I used Smashbox Primer Water. Which can also be used to prime the face, set the makeup and refresh the makeup. The bigger picture is the finished product. As you can see, it's not barely there makeup it's really only lacking false lashes for me to be completely satisfied. So that's my tips. This is about 5-10 minute makeup depending what steps you take and how long it takes you to do them. Feel free to omit or add to as you see fit. I hope it was somewhat helpful.
0 Comments
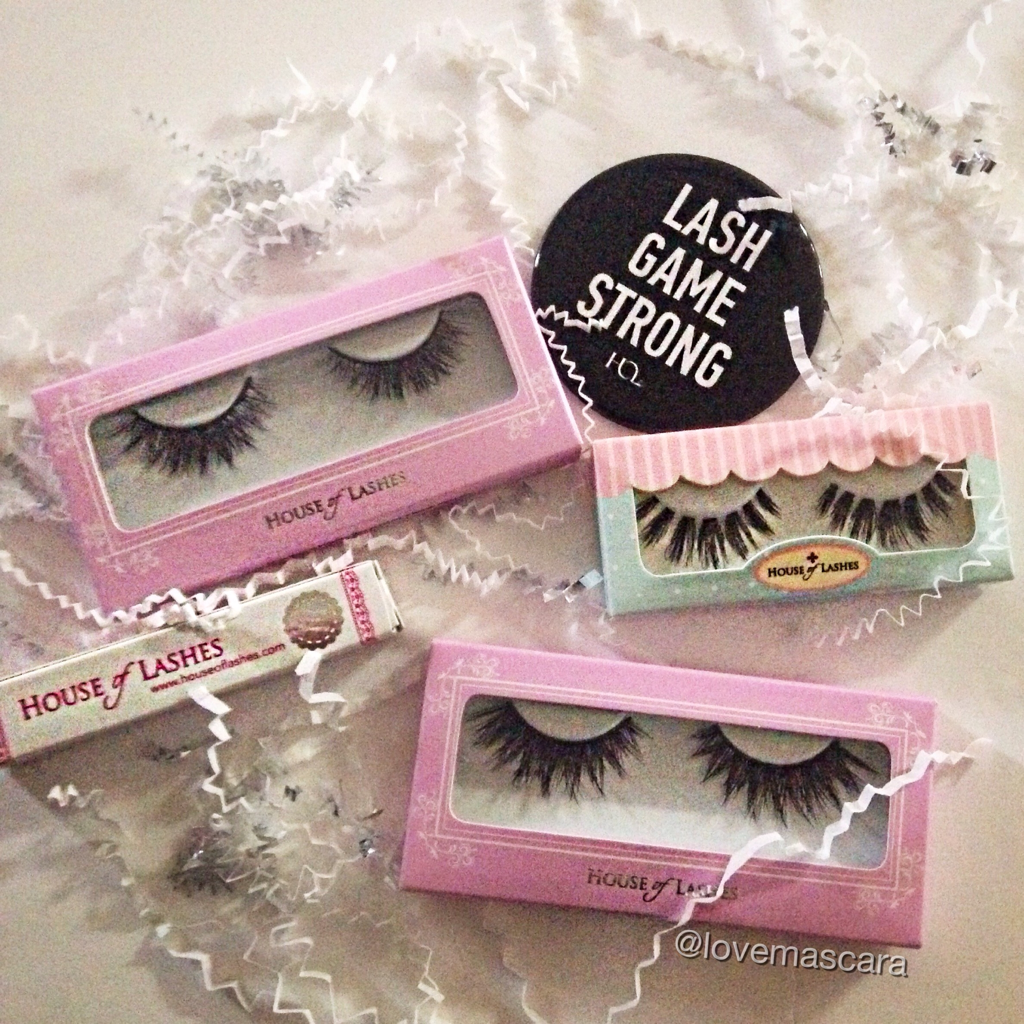 I finally caved and got some House of Lashes (HOL) lashes. They were having a sale for their birthday and it was 30% off your order I believe. So I got their lash glue, Siren lashes, Iconic lashes, and Boudoir lashes. They also sent a cute little mirror that says "Lash Game Strong" which I actually use all the time. 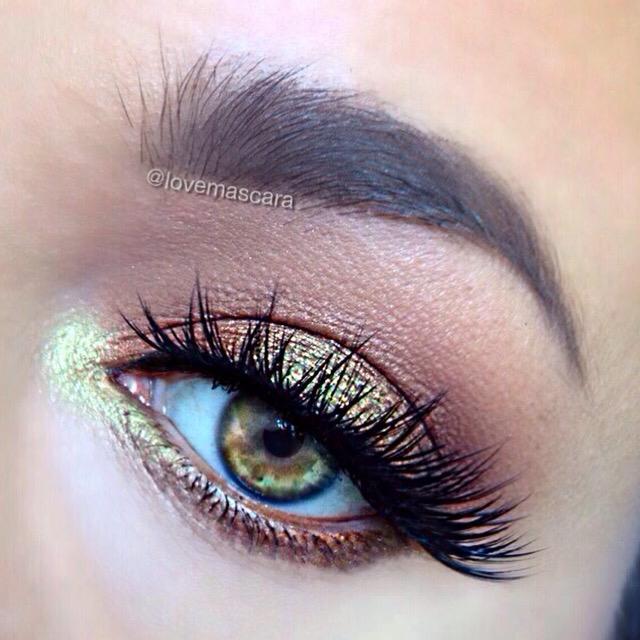 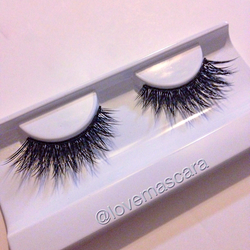 These are the Iconic lashes. Which are quite popular and I can see why. All of the lashes from HOL are synthetic and human hair so it's really affordable in general. I honestly can't pick between the three I got which ones are my favorite. These were a little hard to fit to my eye. Not as in they were too long just that they didn't want stay down at first but I got them there and after that we were fine. 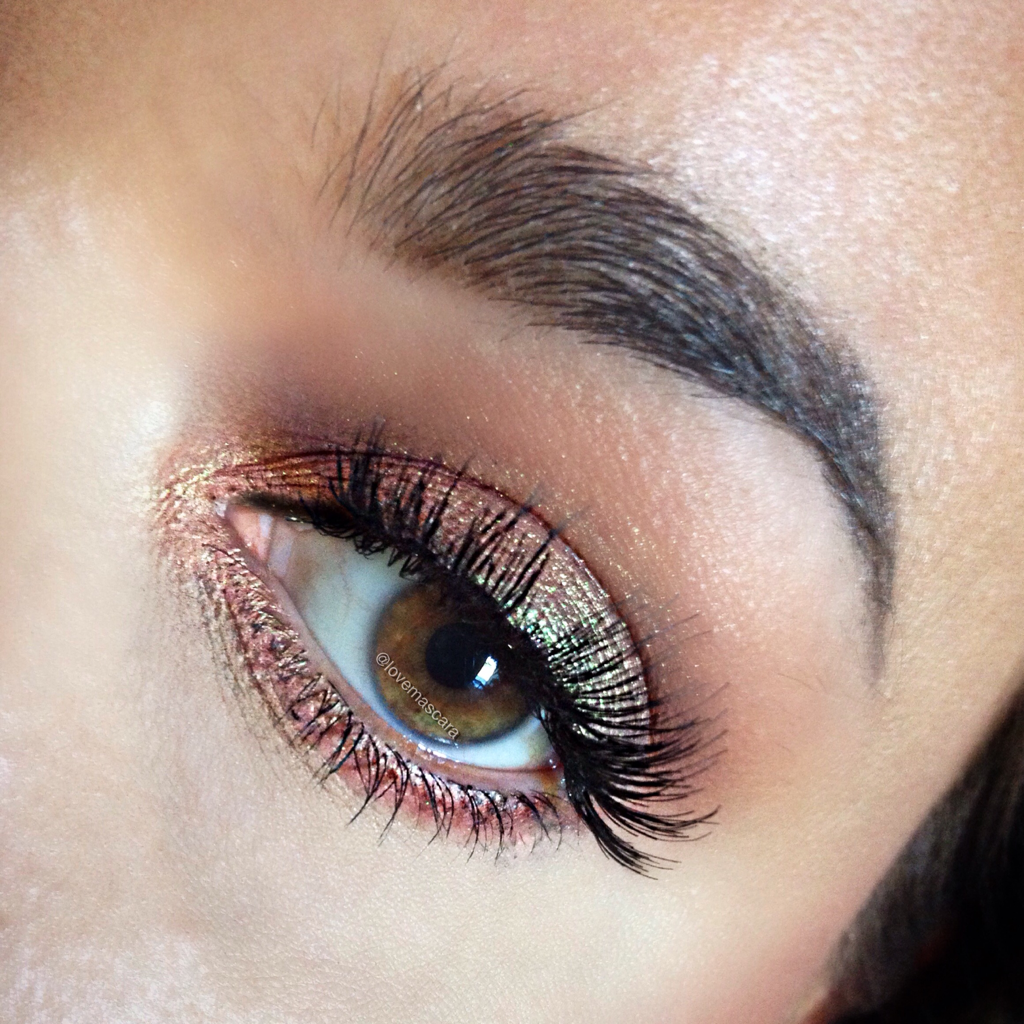 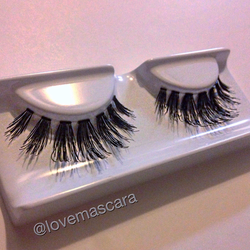 These are the Siren lashes. They are also really popular. These were just $9 regular priced. These have an invisible band. They are super comfy and i forgot I even had them on. I actually for got I even had them on. 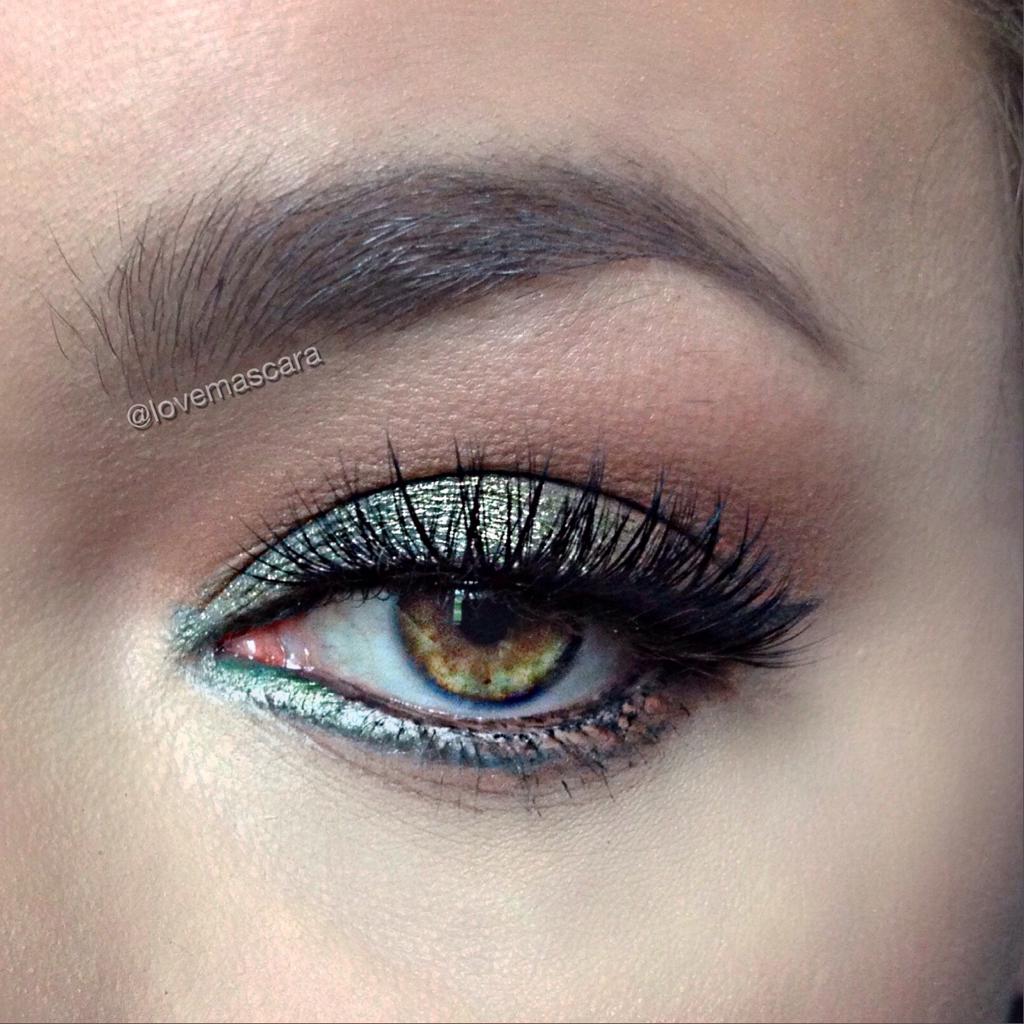 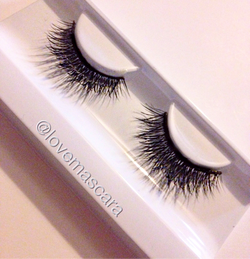 These are the Boudoir lashes which are relatively new I think. These are thicker in the middle and thinner on both ends. Plus they're my favorite style because they are short on the sides and longer in the middle which I love. These were a perfect fit as well. The lash glue is the best I've ever tried in all honesty. It beats Duo brush on or squeeze tube. I love it. The lashes are amazing. They're affordable, they fit amazingly well and very light weight. I can't believe it took me this long to try them out.
Go check them out. So here's some looks that look more complicated than they are. Some are a little more advanced, but for the most part they are do-able if you can get your hands on some body paint. So if you're interested in some halloween makeup that looks really cool but not really hard. Here ya go. I will be doing some VERY easy Halloween looks as well in a few days. 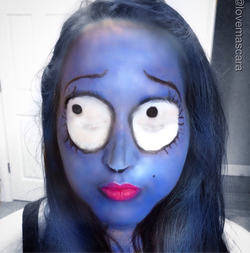 In this picture my friend let me turn her into the Corpse Bride from Tim Burton. This was a lot of full but also very time consuming. As you can see it's mostly blue paint. You do have to carve out the cheek bones with black though and use black around the sides of the face and neck to make it seem more hollow. There is quite a bit of shading you have to do as well as making gigantic eyes and drawing on eyebrows. It's best to just look up a picture from the moves and go from there. Make sure that the dark parts of the picture are the areas that you use black on. It does take a lot of product. You will need a blue face paint as well as white and white mascara or something to make sure the lashes blend into the white of the eyes you're drawing on.  This is actually a really easy look, it's a broken doll. It takes black and white face paint and some liner, blush and lipstick. Some lashes too if you have some. So, whole face painted white and powder it down to make it more "porcelain" looking. Two circles of blush on the apples of the cheek. A pale pink or mauve lipstick or liner, matte finish. White eyeliner to put in the water line and black liner to make the eyes look larger. So you're basically drawing in a new lower lash line. Lashes to give those "doll like" lashes. Draw on some brows with liner or a brow pencil what ever you want to do. For the missing piece, I took a black crayon liner and outlined how much I wanted to black out, with out doing the cracks or anything. Then I used black face paint to black out the entire area. If you want to make sure the eyeball stays covered you can get eye patches and glue them onto the area around the eye but since this was just a pic I only closed my eye. Then with liner I made cracks around the missing piece. For the cracks on the other side I just used a small very small amount of liner and wiped the brush off so it went on kinda grey instead of black. I also drew lines on the side of the mouth too to make it more doll like as well. You can use a blue contact if you want, but it doesn't really matter. For this pic I just used an eye color app, since contacts are kinda expensive and my eyes don't like them that much.  This is the a female Mad Hatter that's trying to get her life together lol. Anyway this was actually relatively easy. It's white face paint then orange shadow for the brows and also around the eye socket. White liner and mascara. Some purple and red around the eye socket as well, only focused a bit more on the outer part. Orange liquid lipstick on the lips. I used purple and warm brown to contour. I added peach blush cause she's trying to get it together like we said. Green contacts for the green eyes. I did one pinkish red streak through the front of the hair. One side is pinned back to make it look like the hair is only on one side. You can go full blown mad hatter though if you want. Again just reference Alice in Wonderland from Tim Burton.
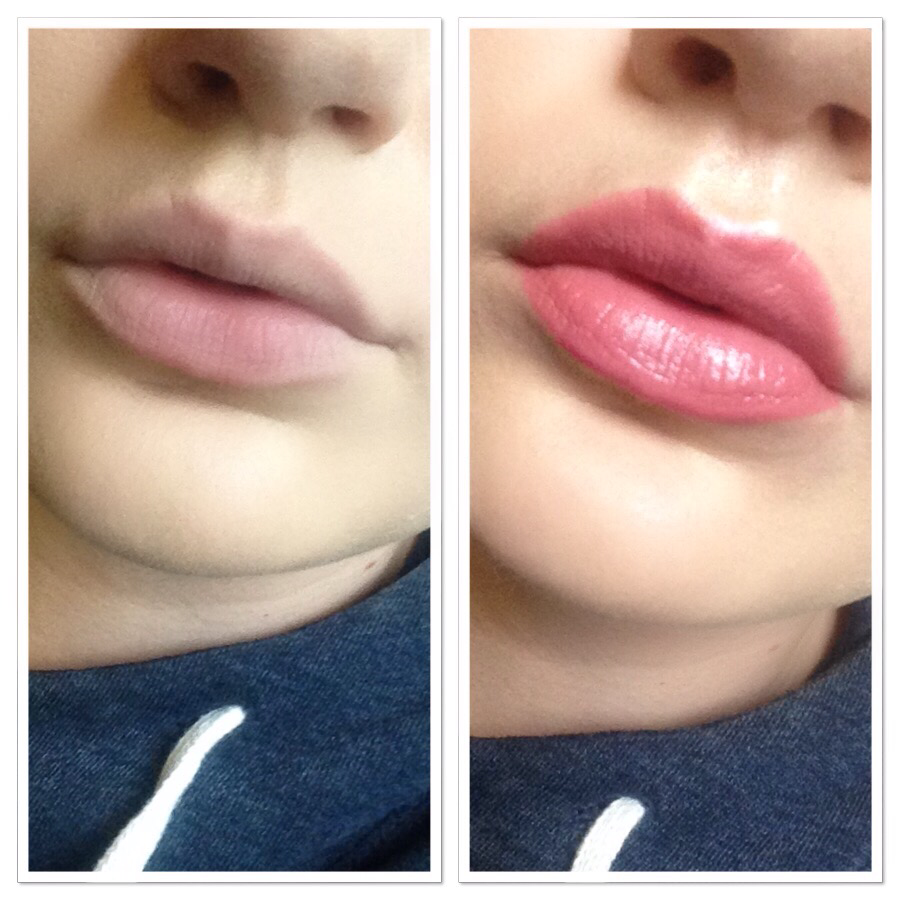 In this I'm going to tell you what I do to fake fuller lips. This isn't something I do all the time but, when I feel like it, I think it does help. 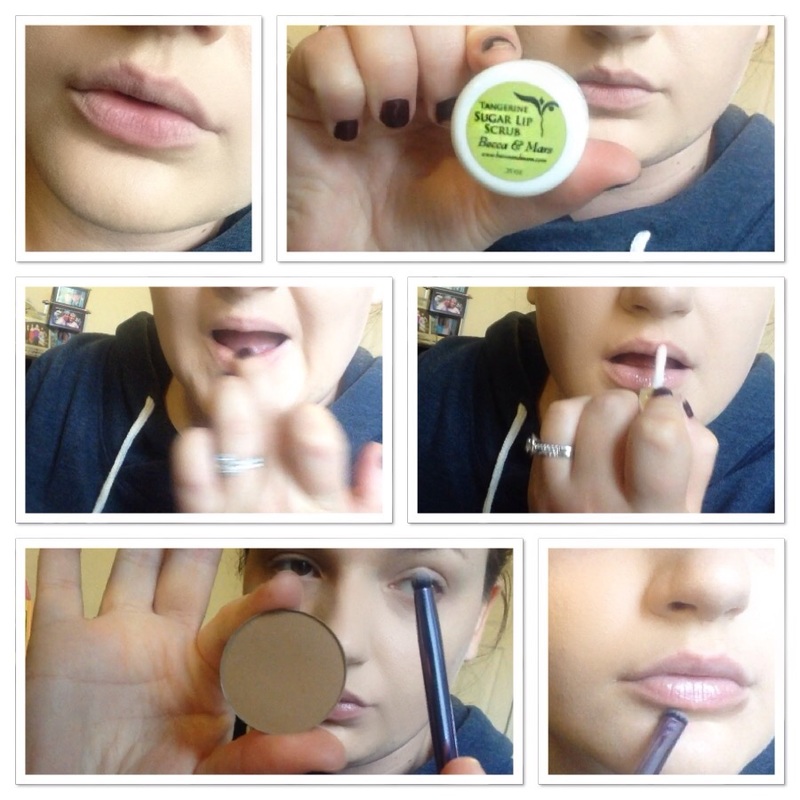 First I exfoliate the lips. I use a lip scrub from Becca and Mars that I got on Etsy. It's a sugar lip scrub and it's edible so you just lick it off pretty much. It's also very moisturizing which I love. Then I use my Dior Lip Maximizer which is supposed to help plump the lips. I leave it on while I contour the lips. I take a contour powder or a shadow whatever you want to use and a small dense brush and I put it above the sides of the upper lip and below the sides of the lower lip. I blend it over under the center of the bottom lip too. This just creates a shadow so that the lips look like they're more full. 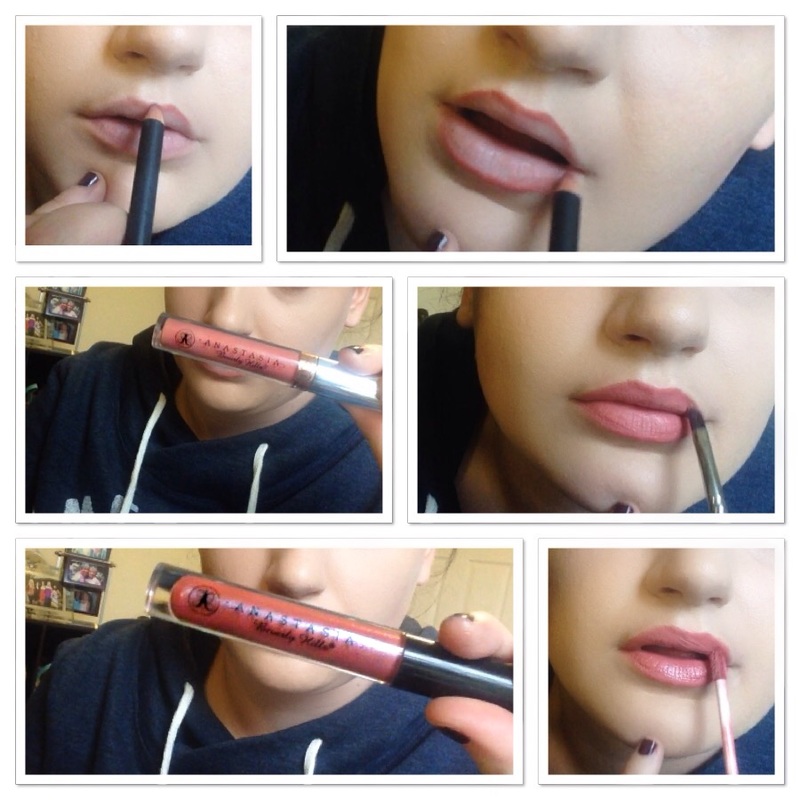 If there is a lot of gloss still left on the lips I'll blot them some but usually there isn't by the time I get ready to line them. I don't over draw them lately. You certainly can but I haven't really. I keep the line on the outer part of the natural line though so it's still my shape but just slightly fuller. I'm using Soar from MAC in this. Next I apply my lip color which is Lovely from ABH. It's a nice mauve shade. I use a lip brush so that It's a bit sharper and easier to control the product and where I want it to go without being too messy and too much product. Then I apply a gloss. Gloss always makes your lips look fuller because the light reflects off the shine of the gloss. I used Metallic Rose from ABH. It has flecks of glitter in it so it catches the light more than an opaque gloss. The gloss is a close shade to the lip color. You could also use a clear gloss or any gloss really. 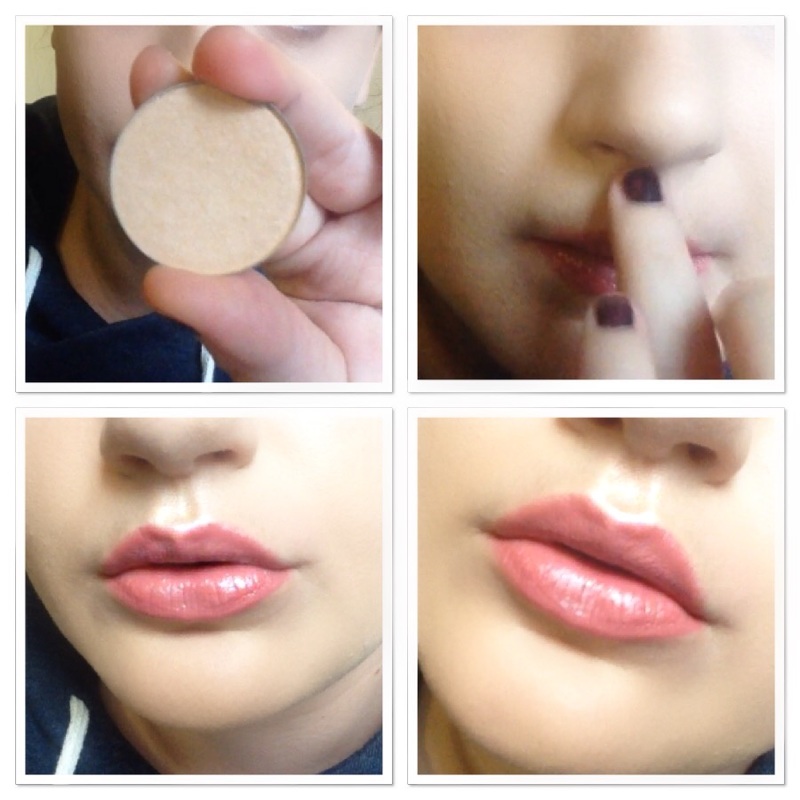 Next I use a highlighter on the cupids bow. I'm using ABH Sand highlighter but you can use any shade. You can also use a white liner to highlight as well. I just apply it with my finger. This really defines the cupid's bow and makes it more prominent.
And that's that. That's pretty much all I do. I don't add a light shade on the actual lip like some people do because the gloss would cover that up. If you were using a more sheer gloss yo.u could apply it over the lip color. For that I like using the NYX Jumbo Pencil in Milk. Concealer would work just as well. |
ErinI'm from Tennessee. I'm a makeup and skincare lover. I have always enjoyed creating looks but I love to help people with product knowledge and application even more. I've been able to start blogging and do these things I love because God has seen fit to bless me with the opportunity. Thanks for stopping by and visiting with me! 

 
Categories
All
Archives
January 2022
|
 RSS Feed