|
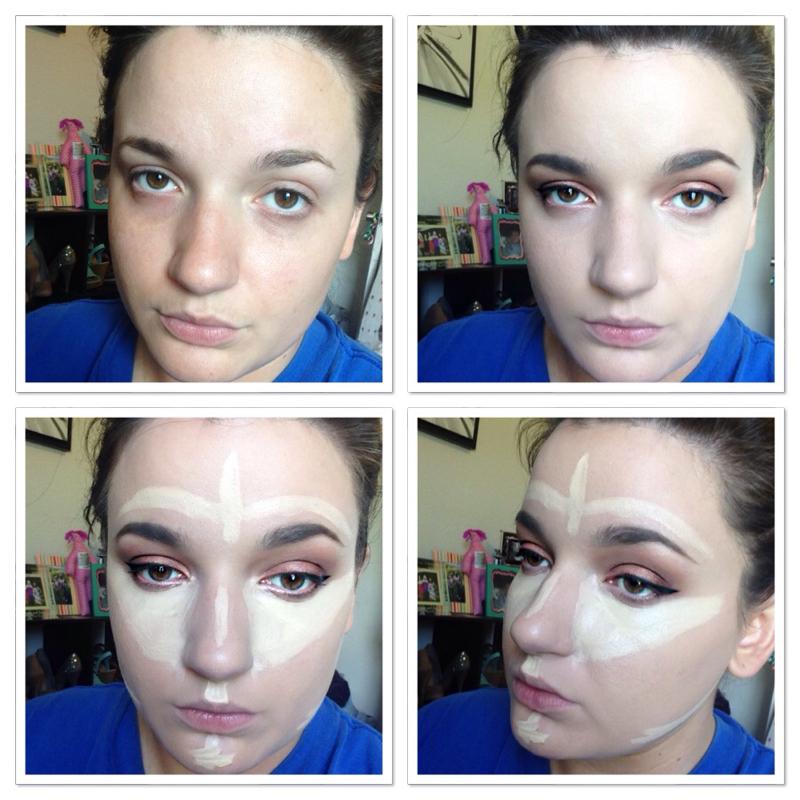
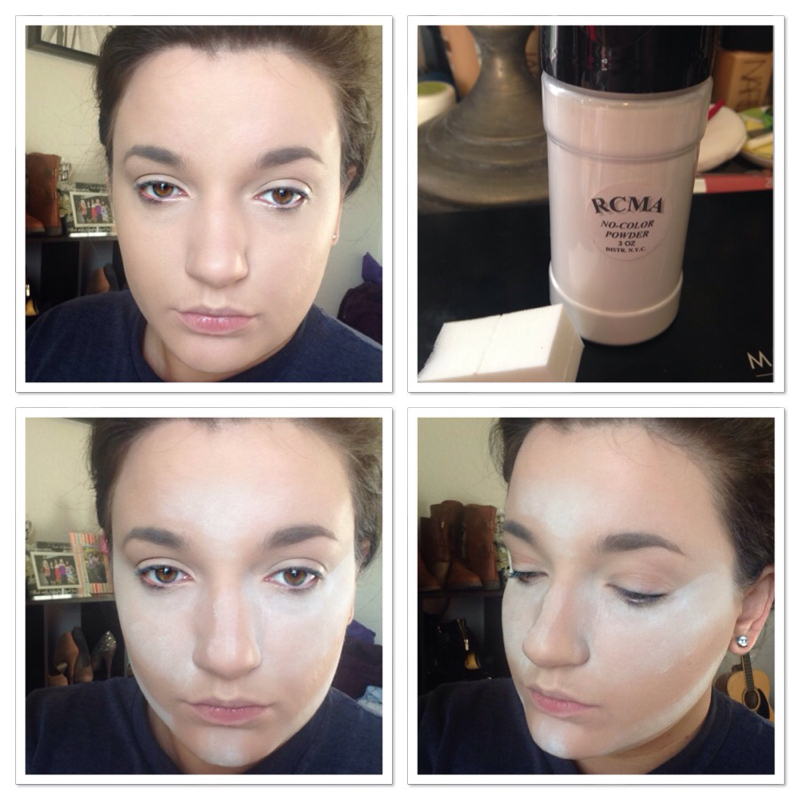
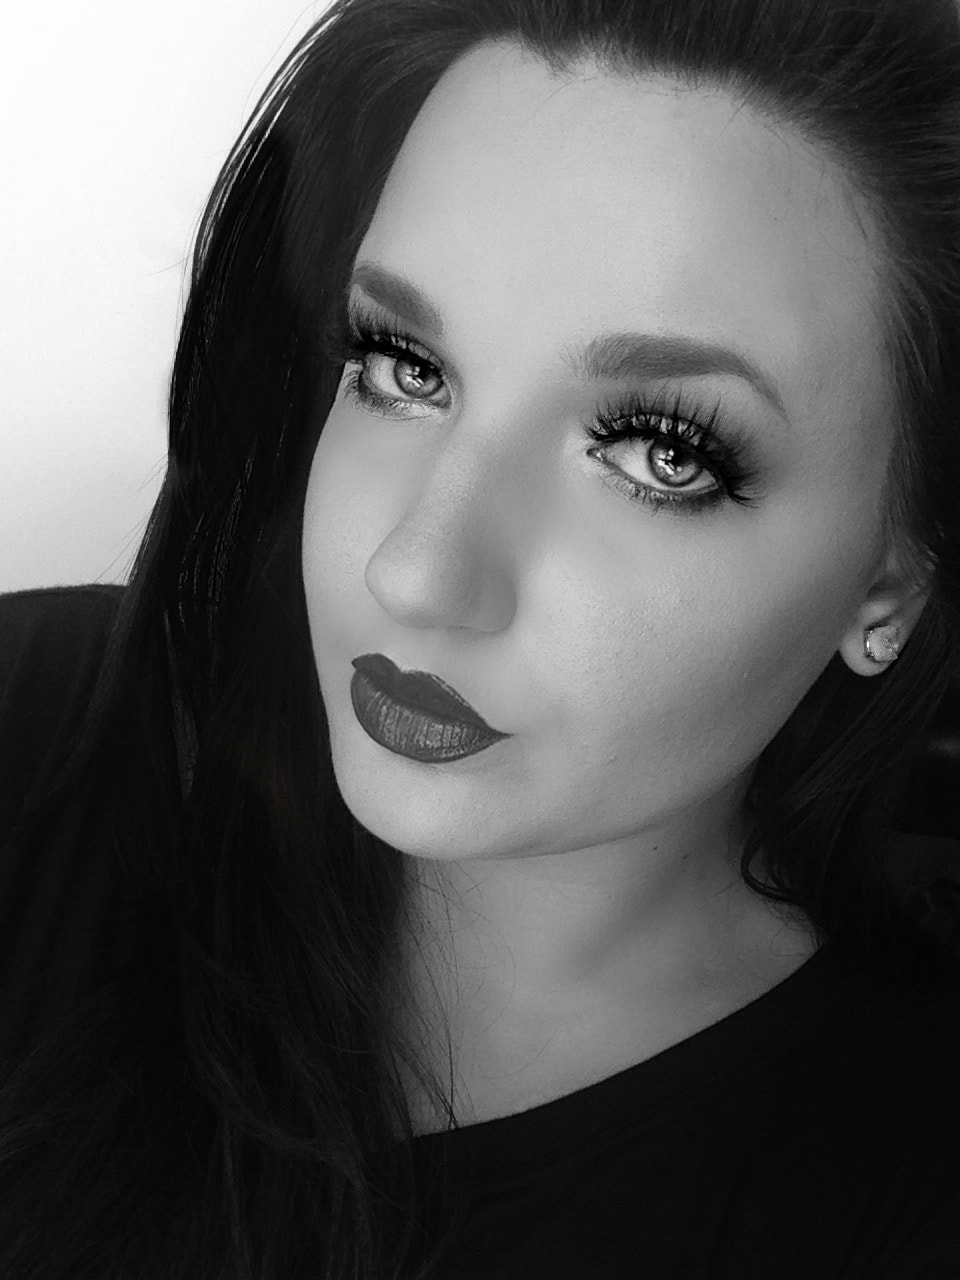
Going hand in hand with "strobing" that I have another post on, "baking" or "cooking" is trending like crazy in makeup right now. This isn't a new technique, it's actually a drag technique, which when you look at makeup these days, there seems to be a lot of drag tricks we're using day to day (*cough cough contouring). Just like contouring though it's an extremely effective method as far as highlighting, setting makeup, and making makeup last longer. I'm showing two ways to bake/cook in this post. One with powder and one with just your concealer. This is a highlighting technique but it doesn't mean that you can't put an actual highlighter on after you're done if you want. This just lightens up those areas that naturally are higher on the face, where light tends to hit. It's not using shimmery products to catch light and reflect back, it's just actually lightening up that area so that it helps you look more sculpted with very little effort and not a bunch of different products. Ok so first I'm going to show you how to bake/cook with concealer. This is my preferred way of baking. I feel like it does a better job than packing powder on your face. What you're seeing a lot right now in the makeup world is just using powder but that's not the only way. So, moving on, I hit the areas I normally would hit when I highlight. The most important area I feel is the V, under your eye, down the side of your nose, and diagonally to the outer corner of the eye. You don't have to bring it down as far as I did or you can actually go heavier if you want. Another good area to bake, is underneath the cheek bone. Underneath the area that you would put your contour put some concealer there to bake and it actually makes a big difference as far as a sculpted look. The reason I like this way of baking is because my under eye area stays smooth. It just looks better when I actually take the time to do this, I look more awake, I have less creasing, and less noticeable fine lines. I let mine sit for around 10 minutes. I used Urban Decay Naked Skin Weightless concealer. I really feel like any creamy or liquid concealer will do good. If it's thicker it might look more cakey posssibly so that's why I chose Urban Decay which is full coverage but thin. I wouldn't use LA Girl Pro Concealers though because, they dry too fast and are hard to blend out once they've set up. So to blend this I use my ring finger that way I'm heating that product up again to blend, but also so that it's not taking any product away. A damp beauty blender would probably be fine as well, it may sheer it out some though. Each concealer is going to be different for how long it should probably "bake". Mine was kinda thin consistency so it could sit for a while. NARS Radient Concealers are thicker so I may not let those sit as long as I would say MAC Pro Longwear concealer because NARS is much thicker and MAC is liquid. You'll have to play with it a little and I feel the longer it sits the more full coverage it's going to be so keep that in mind. I set it with a really light thin powder. It's so easy to look "cakey" when your using these techniques. So I used Ambient powder in Diffused Light which is a really sheer wash of yellow face powder from Hourglass. 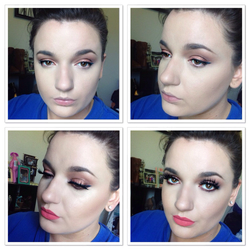 I go ahead and do the rest of my makeup once everything is blended. I added highlighter to it and just a little contour because doing this you really don't have to do much contouring. So I used Becca Opal highlighter I believe, and just a bronzer on my LAB 2 Beauty Multi Purpose brush (flat top kabuki buffing brush). You don't have highlight if you don't want but if you like that "sheen" from highlighters then go for it. Alright so in this set I'm baking with powder. I'm using RCMA No Color loose powder for this. I use this one because it does not oxidize at all and almost all translucent powders oxidize (change color or get darker) on me. This technique is great for keeping makeup in place especially. I don't feel that its as highlighted a look as baking with a concealer but to each his own. So just using a wedge sponge (or a makeup pouf) you just pat powder on heavily, after you've done your concealer and foundation. So the same areas as before just pack on the powder. Now another great thing about this is you can do your eye shadow with all this powder baking and if you have any fall out from the eyeshadow it's no big deal because you're gonna dust it off. I left mine on for 12 minutes before dusting it off. You can leave it on for 30 minutes if you want because the majority of the product is just going to be dusted off. This is a more subtle look than the first one. It's not going to be as heavy but, especially under the eyes, if you have any fine lines I find that this much powder tends to settle into them no matter how hard you try. Which can actually make you look older. That's just me though. 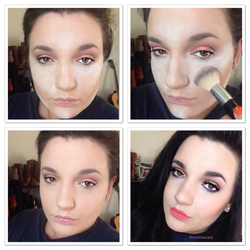 I'm using a Serenity and Scott (love these brushes) tapered brush to dust off the excess. I feel like when it's all dusted off, the areas aren't that highlighted, and under the eyes it looks a little cakey to me. So using a highlighter is a must when I do this if I want to draw attention to the higher planes of the face. Makeup doesn't budge once you've done this and you could literally let it sit for 30 minutes if you want. Some people recommend doing that anyway but I'm inpatient and I don't like white dust getting everywhere. So this has it's pros and cons it's definitely not my favorite way to bake but it's ideal for stage makeup or any event that you're gonna have a worry that your makeup may break down or move on you. Even if it didn't highlight your face it would be worth doing so that your makeup stayed in place. Just maybe go easy around areas of any fine lines. Like everything else in makeup, these tips are not set in stone nor are they "rules". Play around, see what works best with the products you have or want to use. I wanted to talk about it because everyone totally did a 180 from contouring and now it's focusing on highlighting more. So I hope this was helpful at least or gave you an idea of what people are talking about.
**disclaimer: I'm not trying to look so sad or pissed in these photos lol I just didn't want to disrupt the products or cause any creasing and what not by smiling in them.
0 Comments
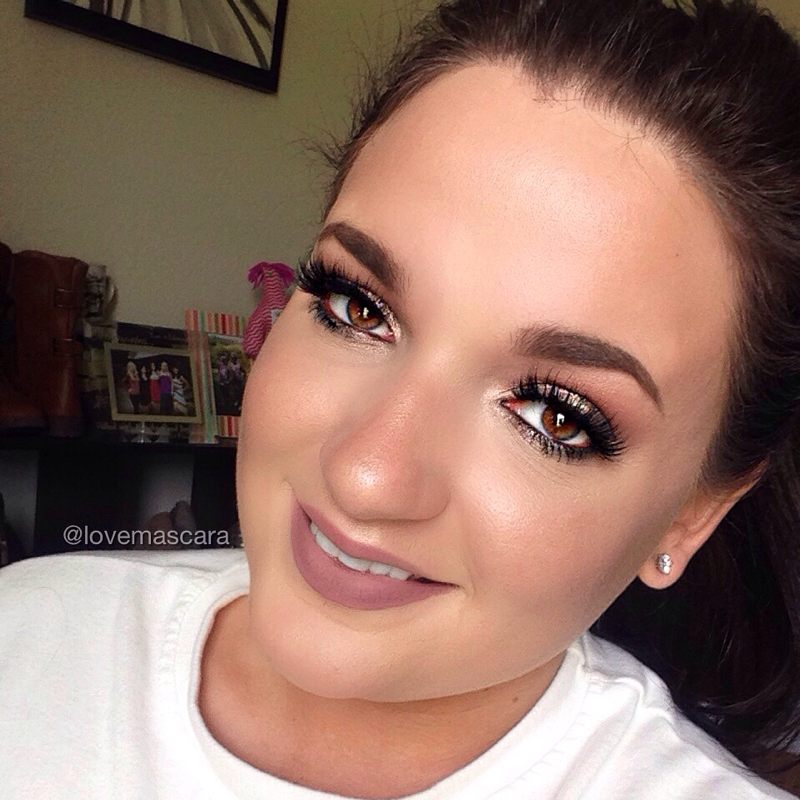
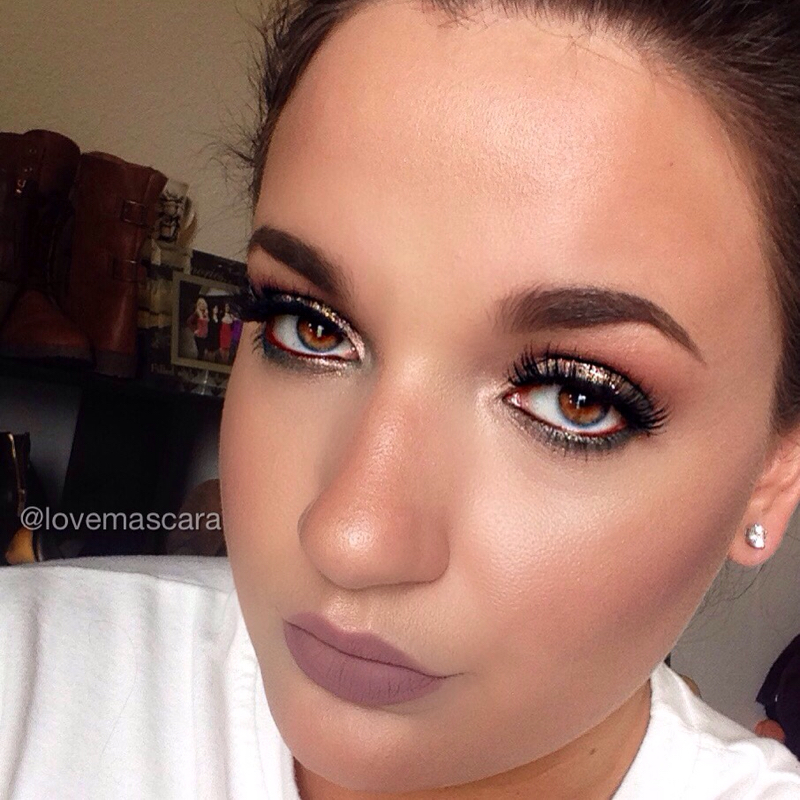
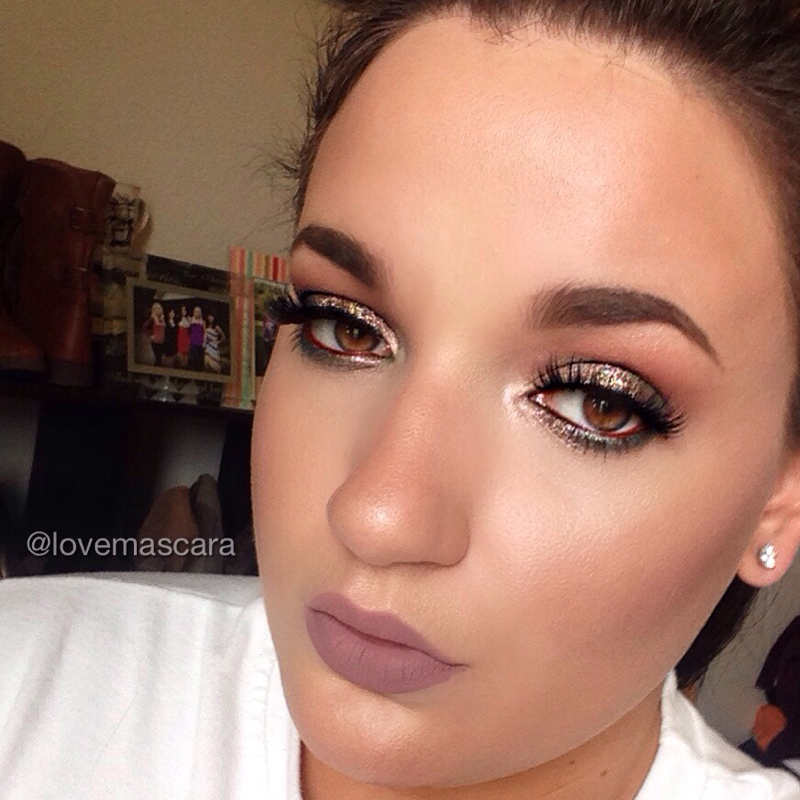
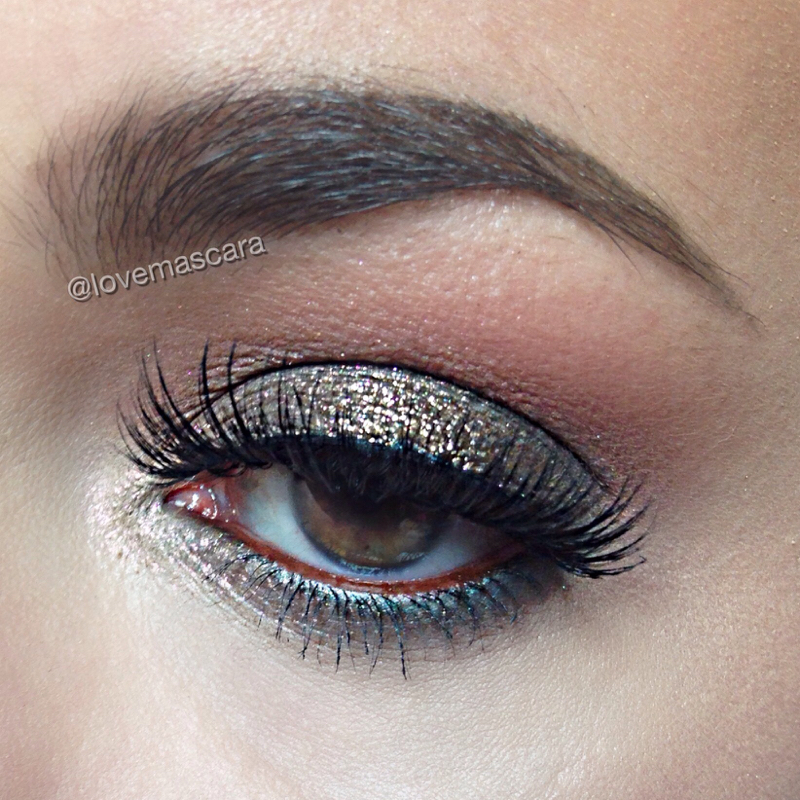
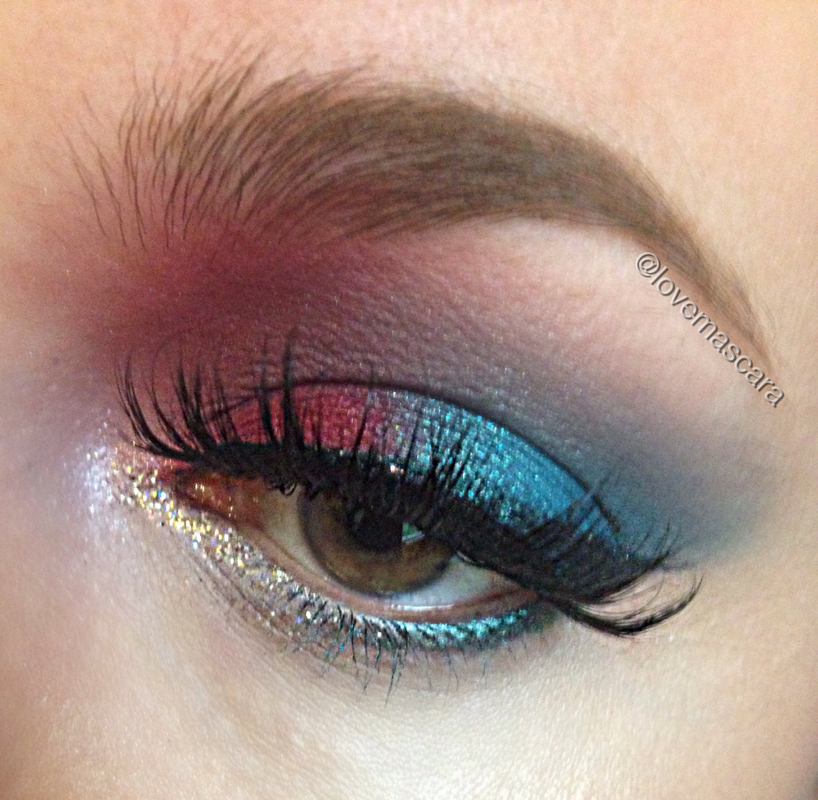
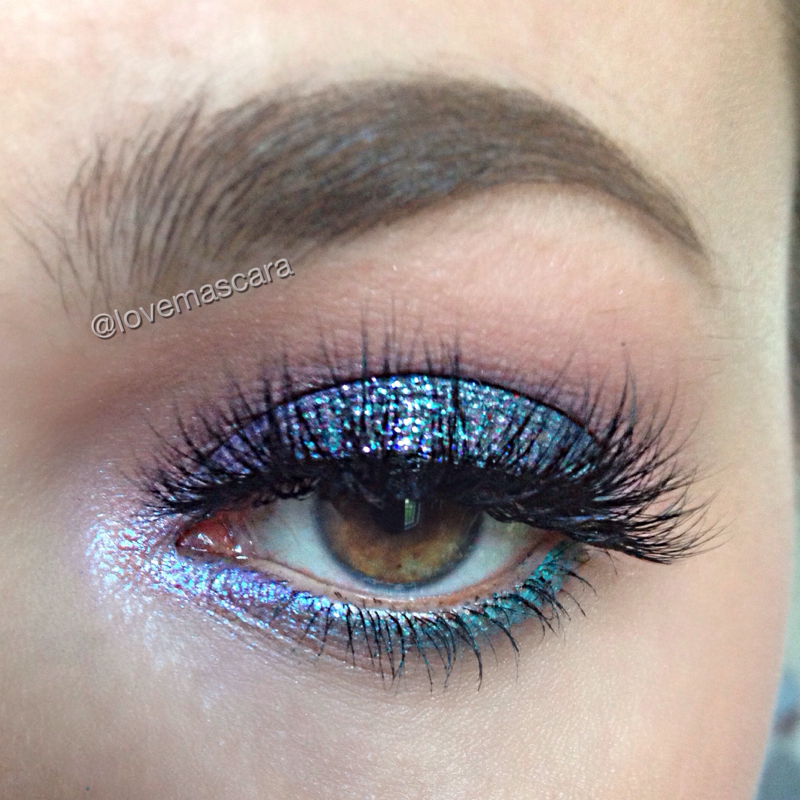
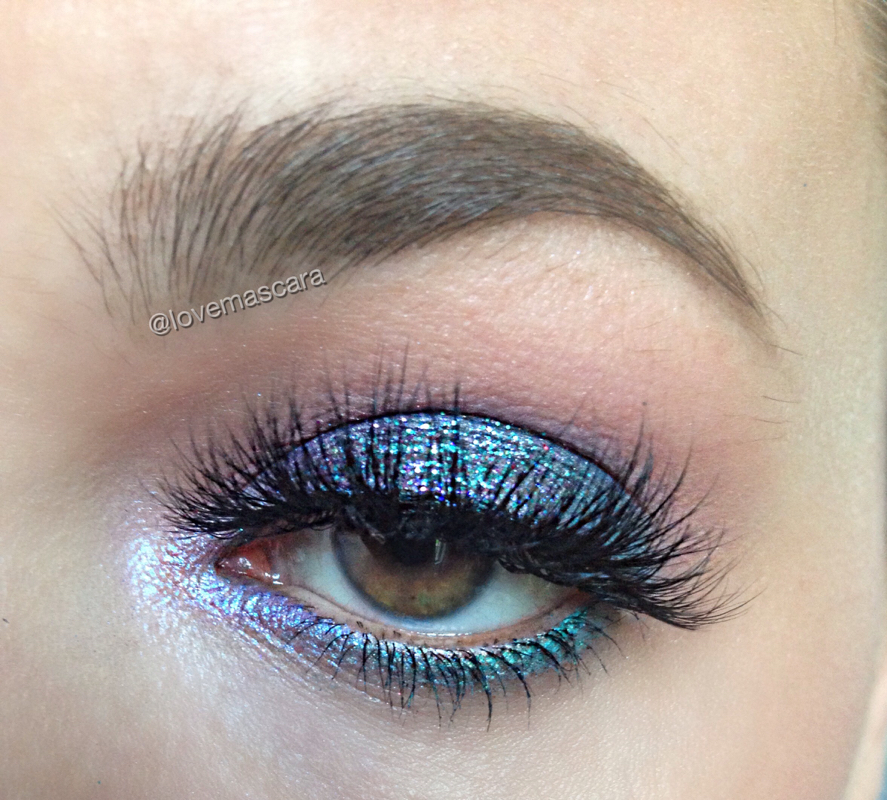
As you know, I love color. It's no secret. It makes me happy. However, there is nothing wrong or more glamorous than a beautiful neutral eye. So this is for those of you who are not sure about color and it makes you uncomfortable. This is going to be a subtle way to introduce some color to your routine. You can't really even see it until you get right up on the eye. I've talked to you before about layering colors or building your shadows. This is one of those situations. You can use a colored base/liner or you can use an eyeshadow. Which ever makes you happy. The color that is underneath all this is a teal shade. I used Ibiza shadow from Colour pop underneath Nillionaire shadow. It gives it an olive tone to the look. You could use a blue eye liner just the same. Another good shadow is Makeup Geek Shark Bait shadow. Anything you want. You don't even have to use teal you can use whatever you want. Orange would be pretty, Violet or Plum is always lovely, just try it out. This is an up close and personal look lol. It's Ibiza then Nillionaire (Golden Brown shimmer), Ex in the crease and Too Soon in the corner all from Colour Pop. MAC Cosmetics Costa Riche liner is in the water line. Lena Lashes Bianca lashes. Anastastia dip brow. Also Colour Pop Trap on the lips.
As of late, I've really not wanted to go through the whole makeup routine. Shocker. However, I feel like myself in makeup and when I run errands I like to look like the same person that's on this blog. Or I would rather not hear: "are you sick?" Time after time. So I decided today to for go the foundation. It's Fourth Of July, I'm gonna be outside. I don't want a dewy layer trying to smother me out on my face. My skin isn't without imperfections. My biggest problem being my under eye area. So what I done was I concealed and corrected like I normally would and then went about my normal routine of blush, highlight, and bronzer. Bronzer being the key. My tips on how to do this are:
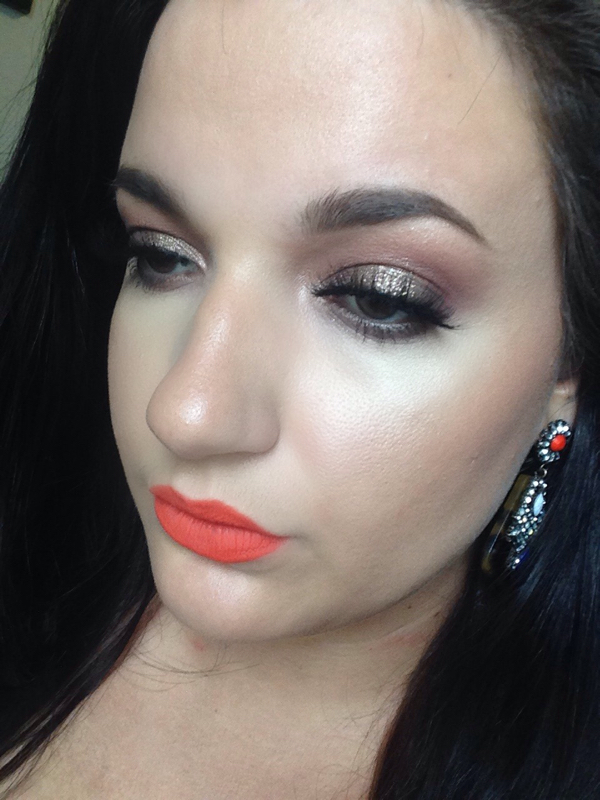
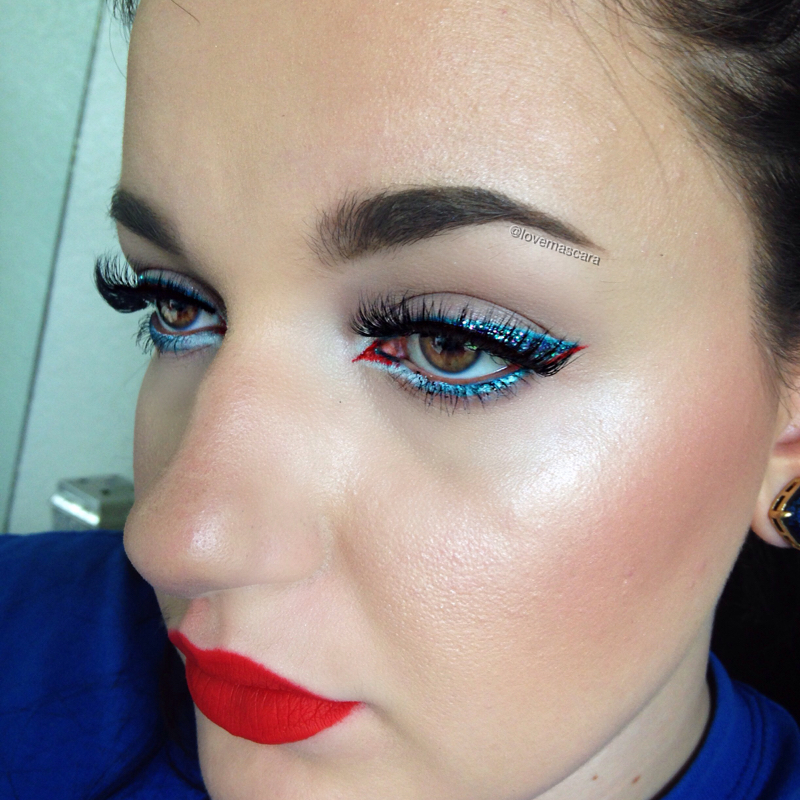
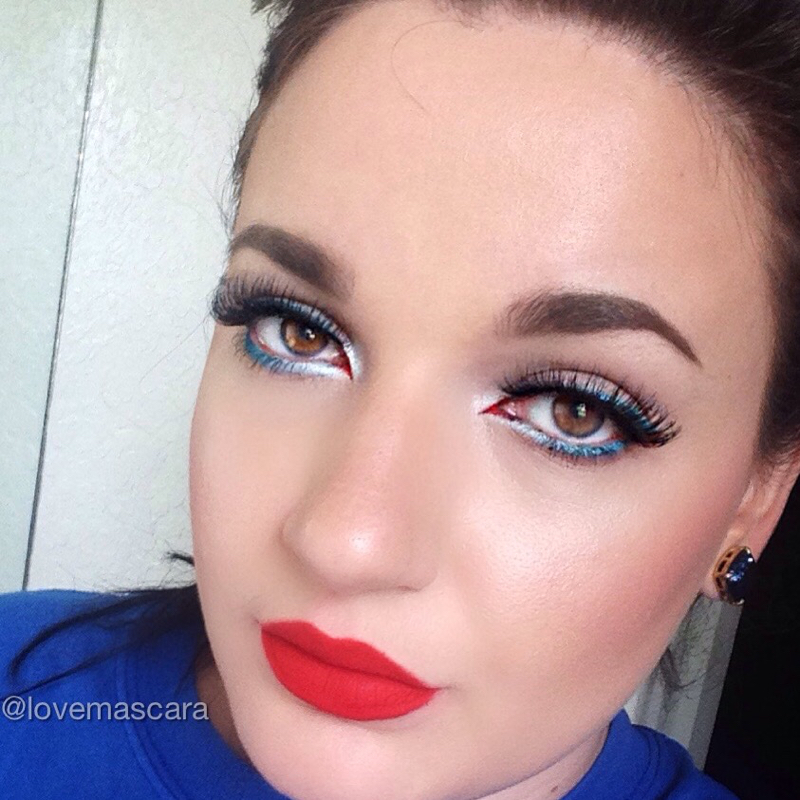
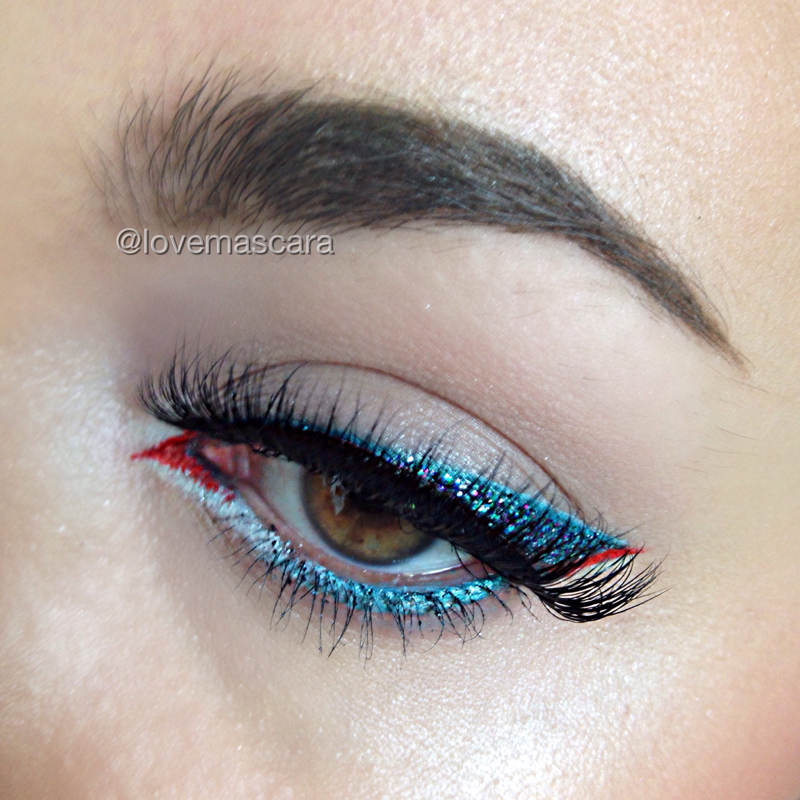
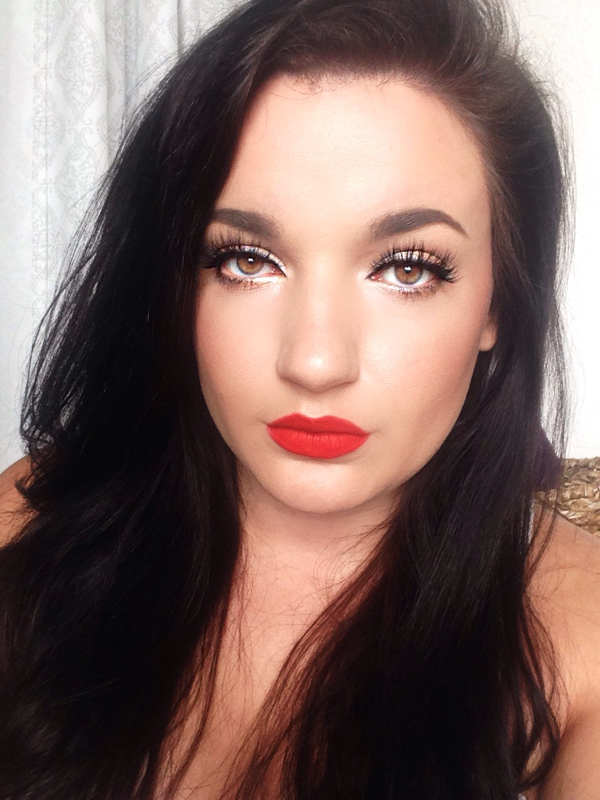
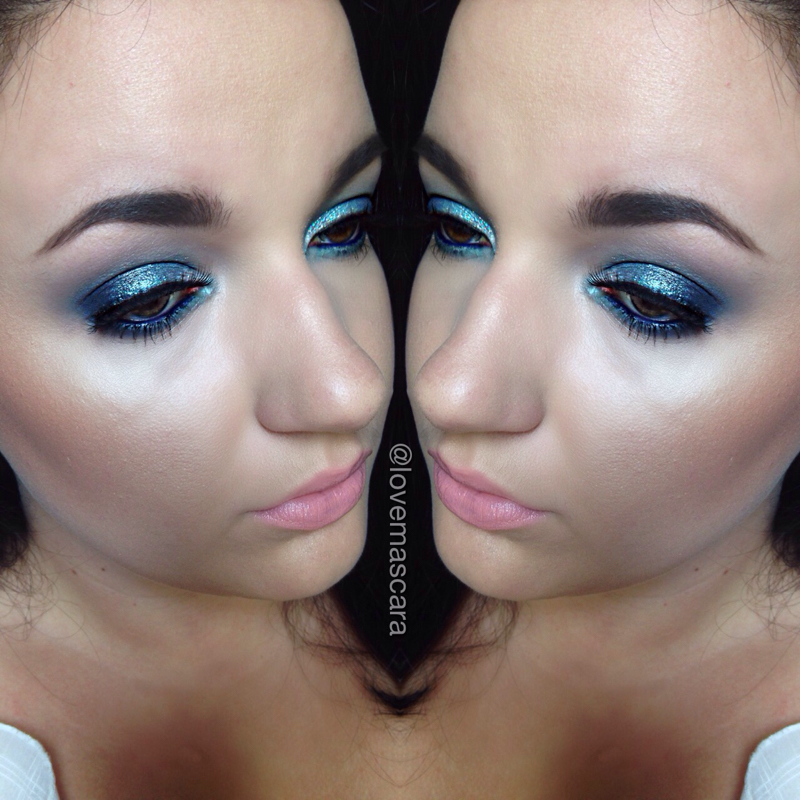
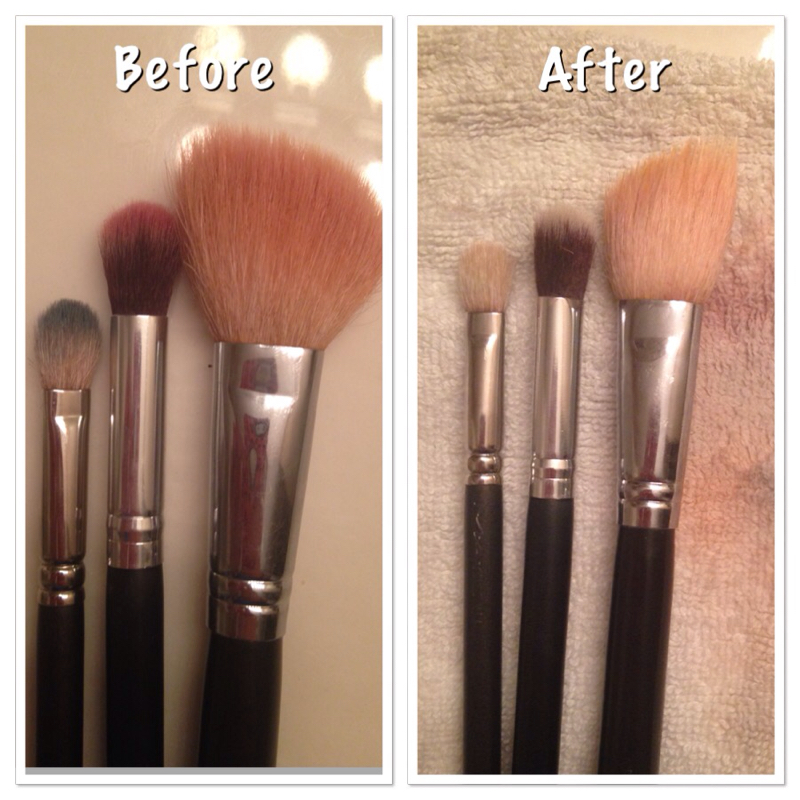
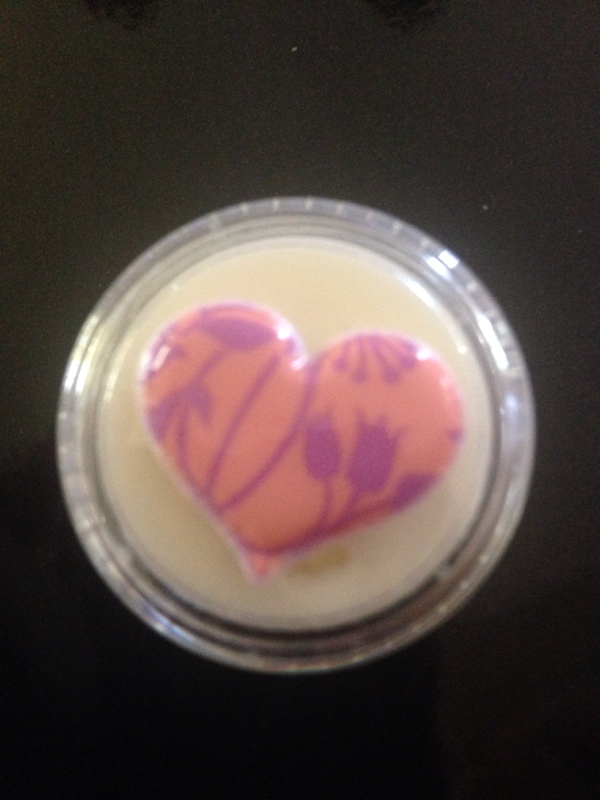
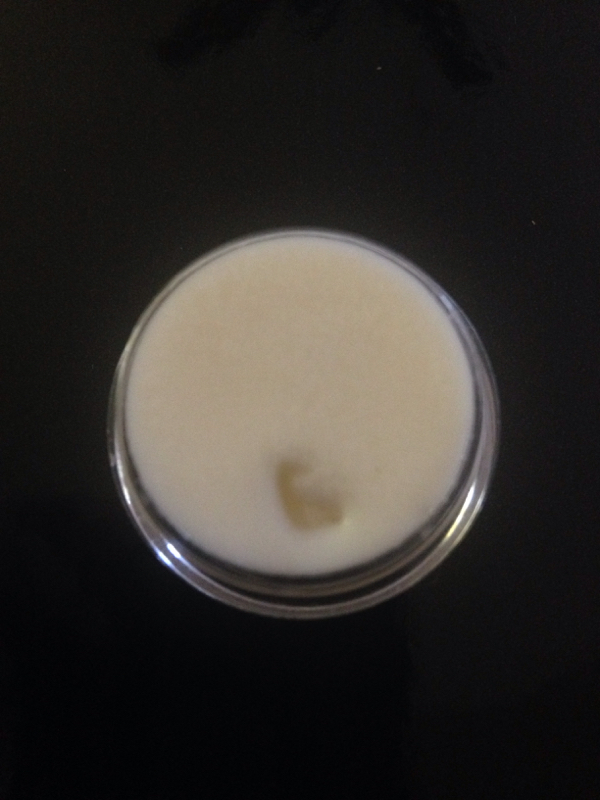
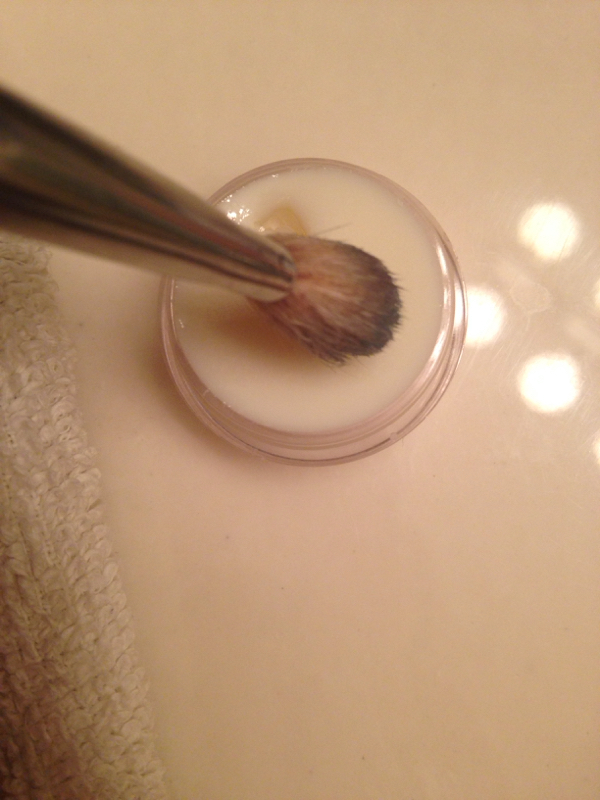
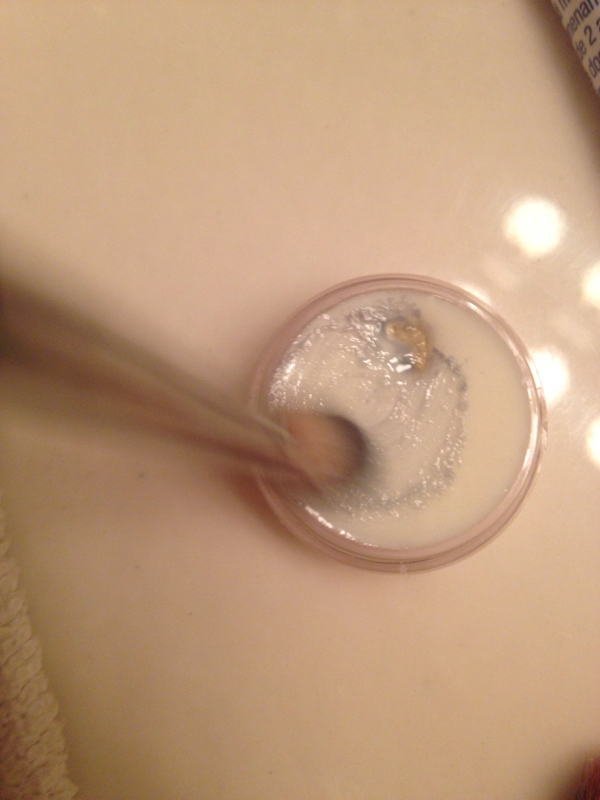
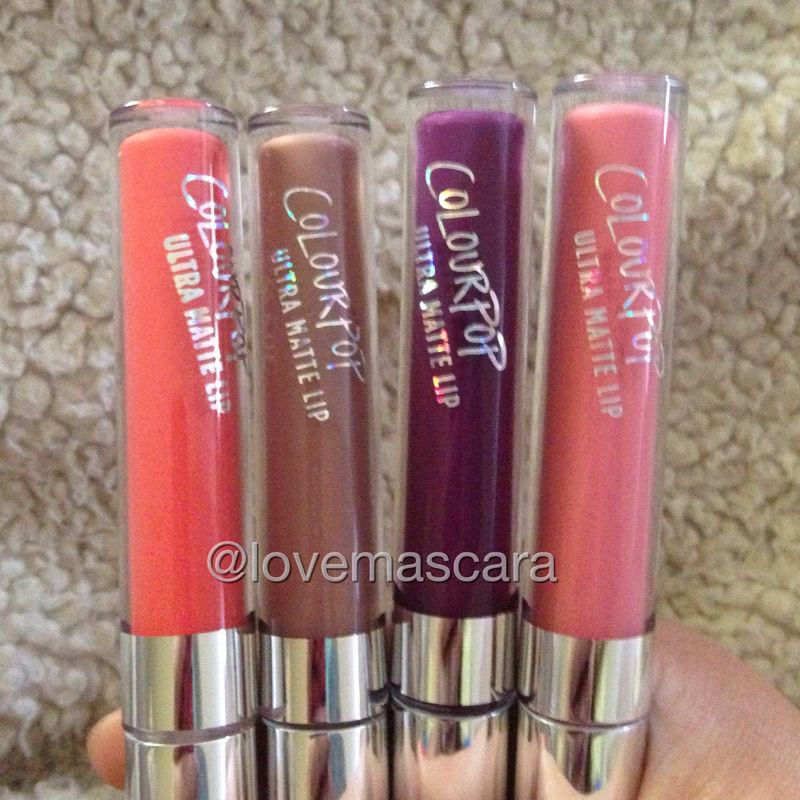
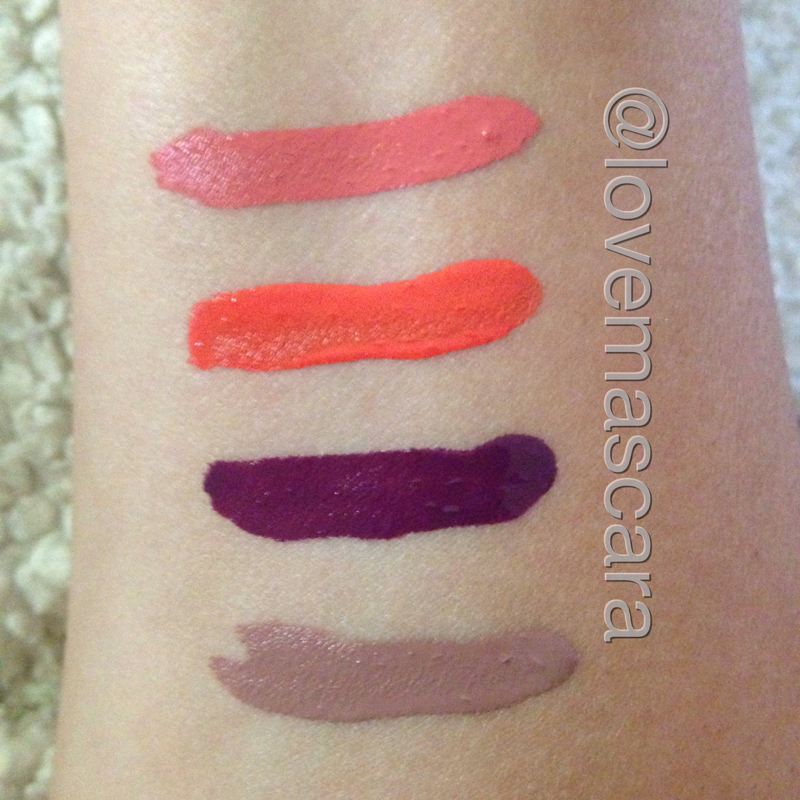
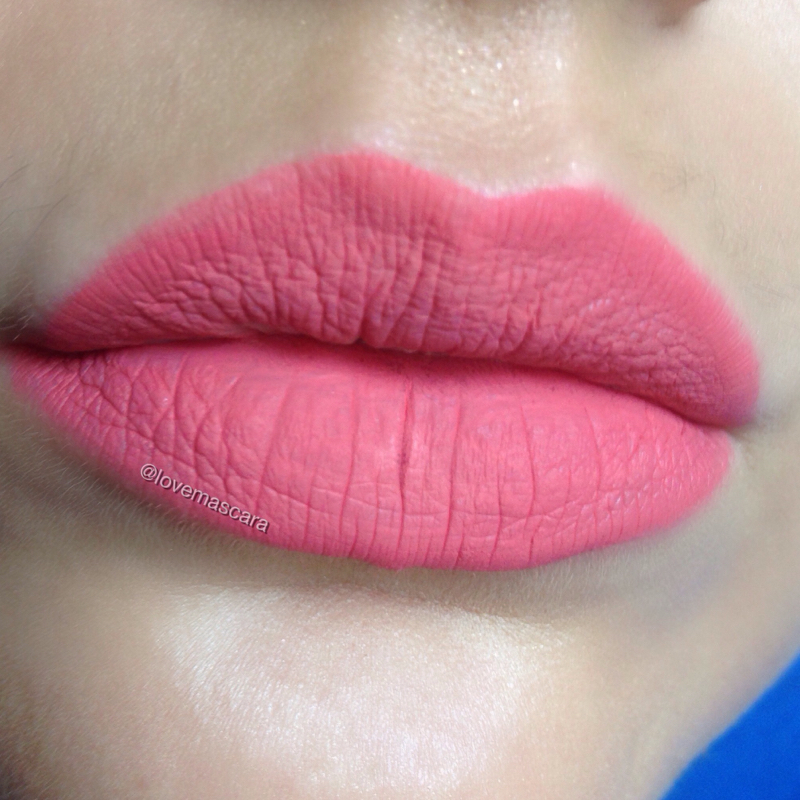
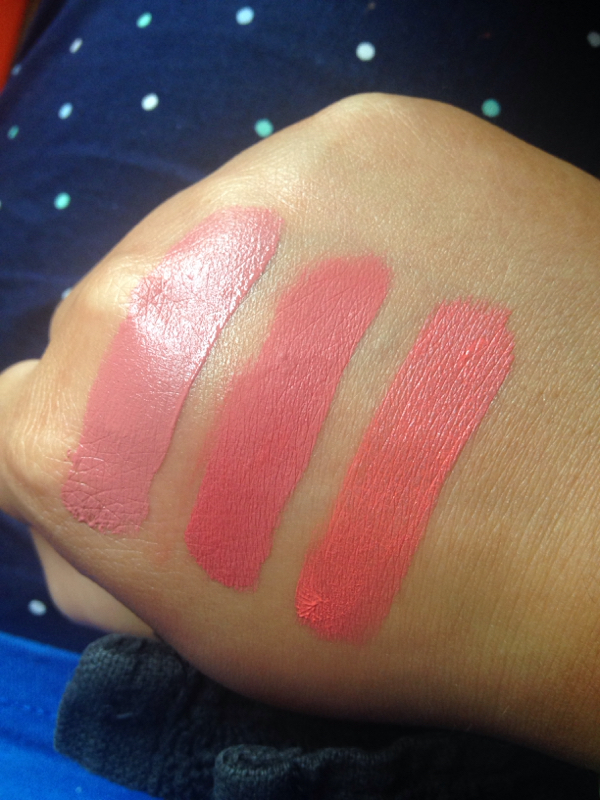
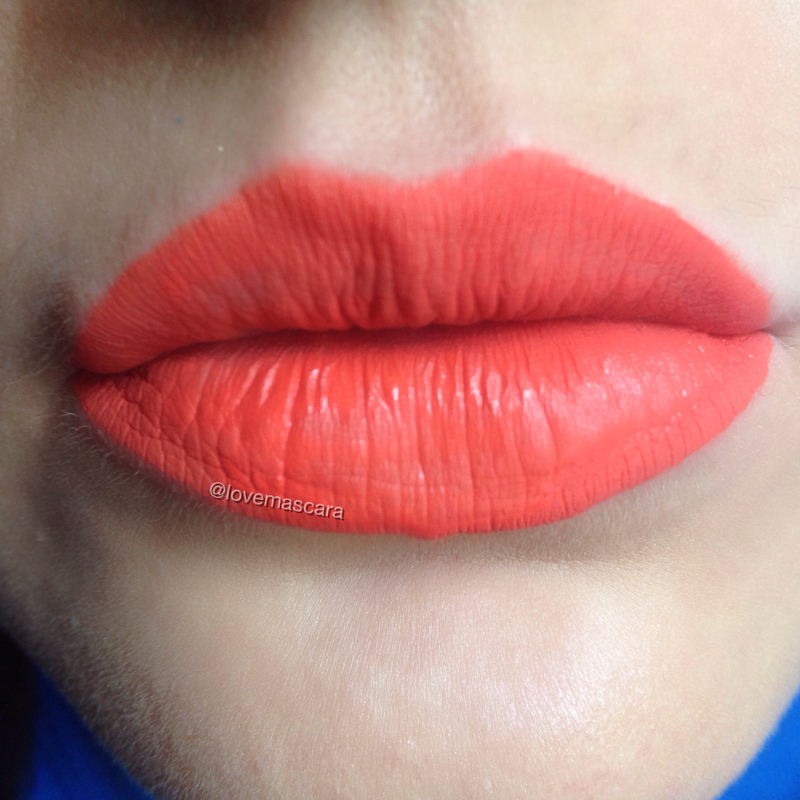
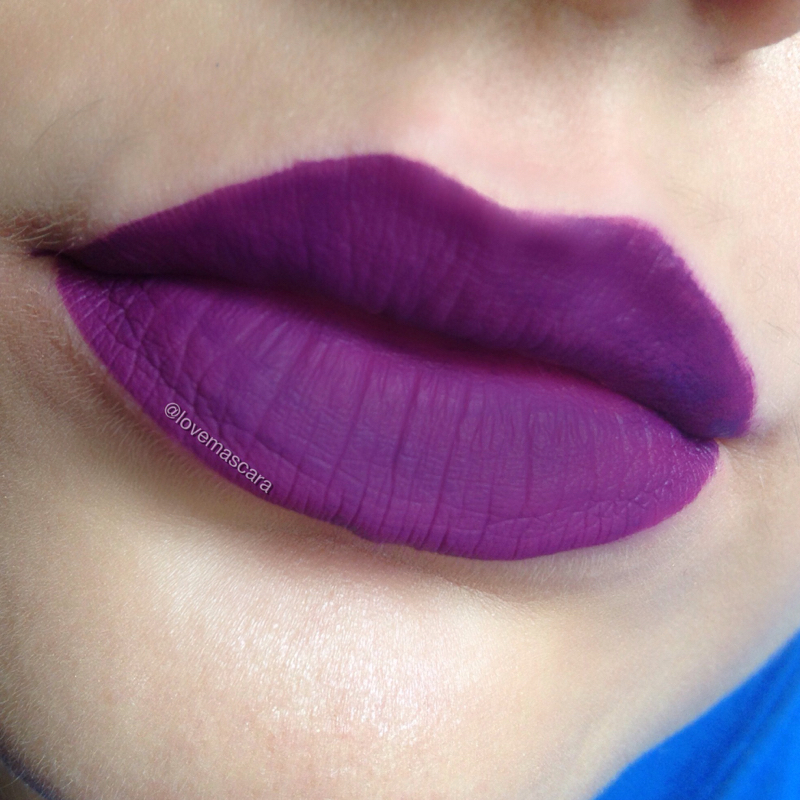
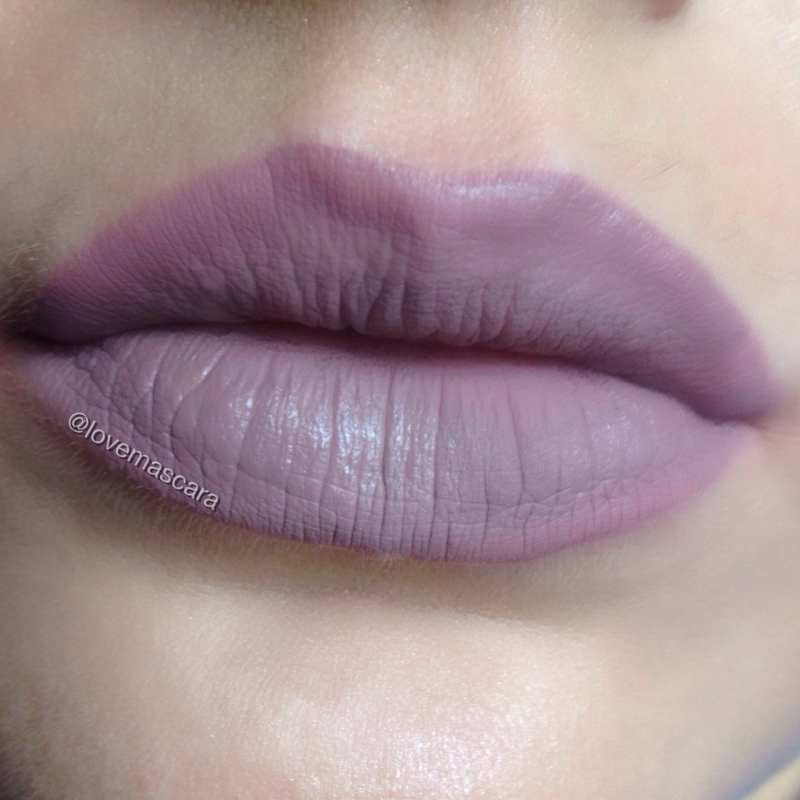
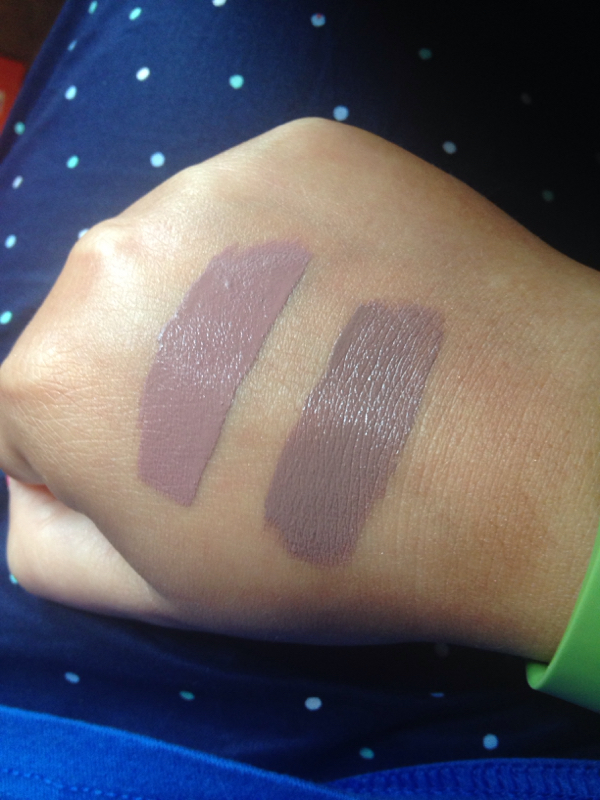
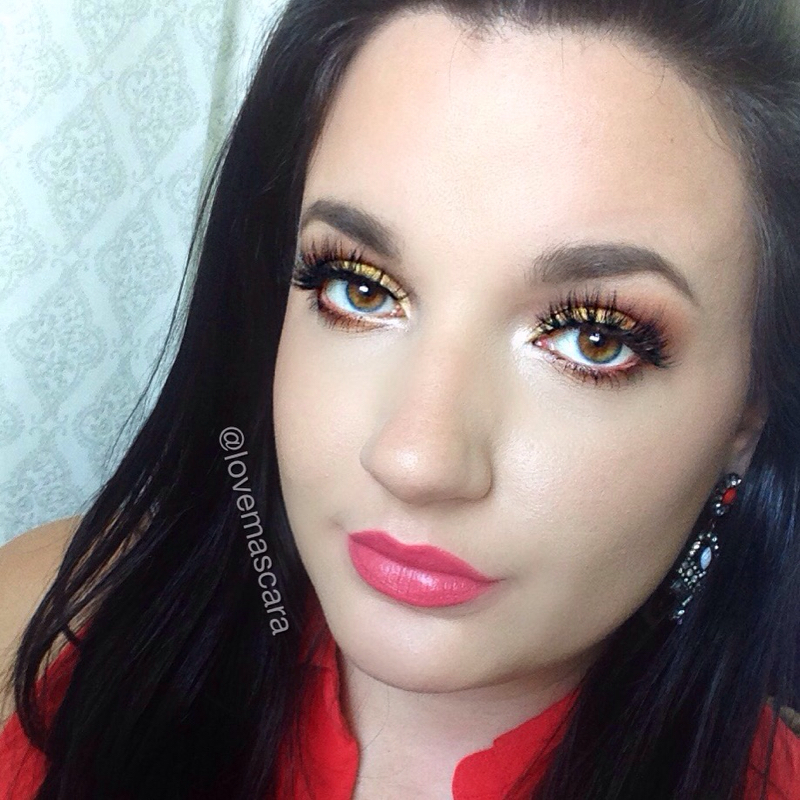
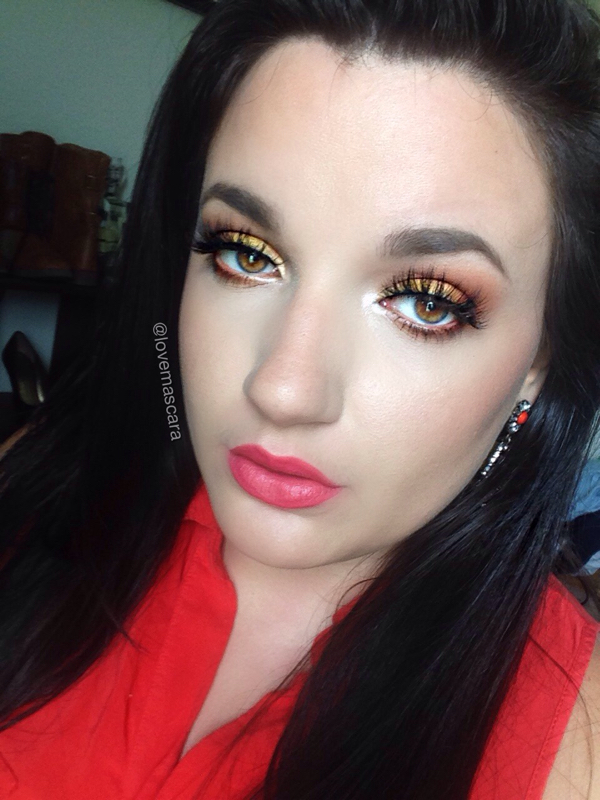
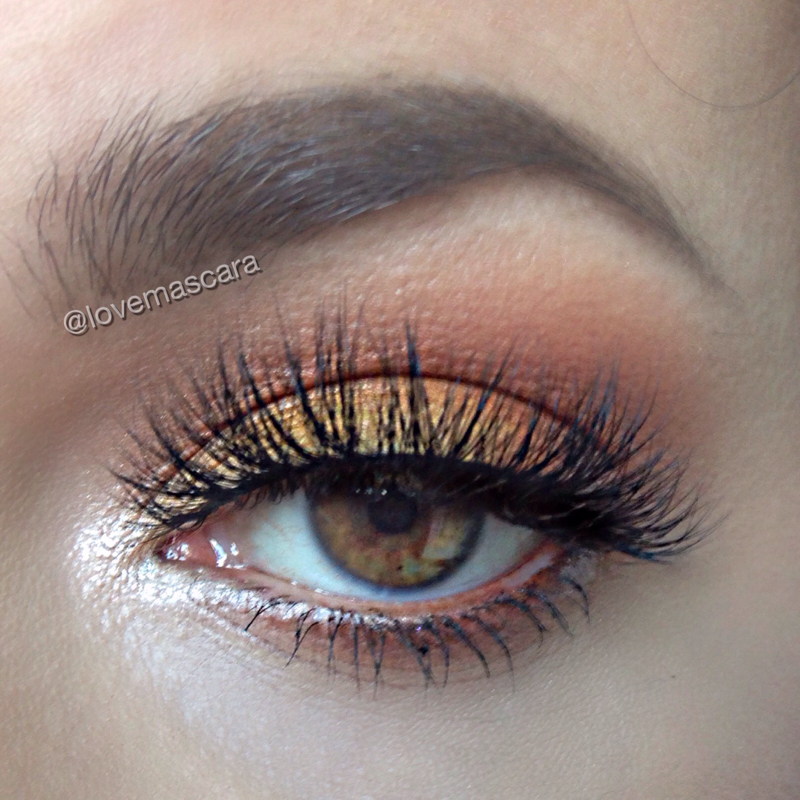
For eyes I do the same as I normally would, today I used Colour Pop Nillionaire shadow with ABH Red Earth, Fresh Peach, and China Rose. Lashes are Nubounsom "Bella" lashes. Brows are dip brow from Anastasia. Lips are Colour Pop Pacific liquid lipstick. So I done a full face of makeup without actually having to do the full face. So no primer or foundation. Of course you don't have to even go as dramatic as I did on the lid you can make it even more natural. I'm not going for a natural look, just more neutral. I just didn't feel like smothering under my foundation for the night in the muggy weather. The picture above isn't filtered, or detailed. It's smoothed a little under the eye because my dark circles sink in just a little, and it's noticeable in pictures, other than that nothing else was done to it. The biggest difference that I can tell is when I use self tanner. So try that. See if it helps your complexion. I have some pink in my face and self tanner helps correct that somewhat. If my skin is super pink I use my foundations, if it's still slightly visible after self tanner then I would use concealer on a kabuki brush and go over it lightly. If I'm going to do that though then I would probably just use foundation. I hope you had a happy and safe Fourth! Here's some fun Fourth of July makeup looks for you to try if you're feeling festive! This one I used a black gel liner first and then went over it wil MUG Poolside and then Pegasus. To make the blue really pop rub a white crayon liner or base onto an angled brush and go over the black that way the blue is brighter over the black liner. Yes it's easier if you just use blue liner. Or a white liner and then put blue shadow over it. I didn't have those in gel liners. Then I applied glitter glue and Beauty Bar Baby Rain Drops glitter to the wing. I took LA Splash Hypnotized lip tint (liquid lipstick) on a pointed eyeliner brush and just outlined the wing underneath and made a cat eye effect in the tear duct. It's also the color on my lips. Lena Lashes in Tina ***it doesn't say you can use the lipstick on the eye area but I didn't have any issues so use it at your own discretion. This one is just lashes and lips. Perfect for a cookout cause the main focus is skin and highlight. Lashes are Bella from Nubounsom I did a winged liner with it. Lips are LA Splash Hynotized Highlight was Becca Opal and NARS High Intensity Blush in Fervor This is a navy smokey eye. It's MUG Poolside and Pegasus with ABH Blue Velvet on the outer corner and Violet Voss Wendy glitter on the inner corner. Lips are Gerard Cosmetic Butter Cup and Spring Fling gloss Luxy Lash Woke Up Like This This dramatic look is for my girls who like to live a little. It's heavy on the eyes and lips. It's a reverse smokey eye with the red going all the way into the start of the brow. MUG Cupcake, Bitten, Razzleberry, Poolside ABH Dragon Fly lower lashline Beauty Bar Baby Diamonds and Pearls inner corner over white base. Lena Lashes Naomi lashes Colour Pop Clique on the lips There's nothing I love more than getting homemade, indie company beauty products. Most of the time shopping small means, to me, that you're getting a better product because more work went into making that product. I can honestly say this is no different. I recently talked with Swirl and Sparkle (www.etsy.com/shop/swirlandsparkle) and got a sample of their brush cleaner. I normally use Beauty Blender solid cleaner. So I got the Coconut Mandarin sample made with Goat's Milk. I got three of my dirtiest brushes, cause I use a lot of color and went to town. What I like the most about this is that the brushes are softer after using it. So not only does it clean them but it conditions them as well. Another thing that I always appreciate about most Etsy sellers is that you can get a sample, which in this case is only $2.99, and try it out before committing to buying a big one. They come with the option of Goats Milk or Vegan Shea Butter. There are 3 scents: Toasted Marshmallow, Chocolate Cake, and Coconut Mandarin. If you want to go larger then 1 ounce is 17.99/19.99 or as of now 4 ounces it's 32.99/34.99. They come with cute little lids that make you feel fancy. I'm a huge fan. I think these are great. Up above is a before and after picture of my two eye brushes and a face brush. Here I'm cleaning my MAC 217 brush. It had navy blue eyeshadow on it. It was clean within seconds. So during the MADNESS of the Ultra Matte Liquid Lips from Colour Pop, I did manage to get away with the 4 colors I wanted. I love to review things for you guys but I try hard to find colors that I don't have in lipsticks and what not. I don't want to get the same shade of pinks and nudes and peaches time after time. So, like I said, I got 4 shades. Two that are bright and bold and two that are more wearable and trendy. One of which, I did have a color like it already. So I got: Donut Pacific Zipper Trap These are all sold out now unfortunately but they will be restocking them. This picture is Donut. This was the one I was determined to get. I love peachy pink colors, they scream summer to me. It reminds me of Lovely and Retro Coral from ABH. Only because it's not nude its an actual color but not incredibly bright or dark. It's great to have if you want to look like you're wearing lipstick but it's not like "HOLY CRAP SHE IS WEARING NEON PINK". It's similar to Retro Coral just with more pink and not as bright. In the swatches on my hand it's ABH Lovely, CP Donut, ABH Retro Coral This is Pacific. It's straight up bright orange. I didn't have anything like this. I love it, it's supposed to be a dupe for Neon Coral from ABH though so keep that in mind. This is Zipper. It's like a royal purple. I don't have anything like this either. It has no burgundy or red in it what so ever. This is supposed to be a pretty good dupe for Vintage from ABH but I don't have that so I can't tell you if that's true. It's dark but at the same time it's still bright. I'm very excited about this for fall. This is Trap. It's the one I had something similar too. Greige is so popular right now. Every brand seems to have one. I have it in LA Splash the original version of Ghoulish. It's supposed to be similar to Cashmere from Lime Crime as well.
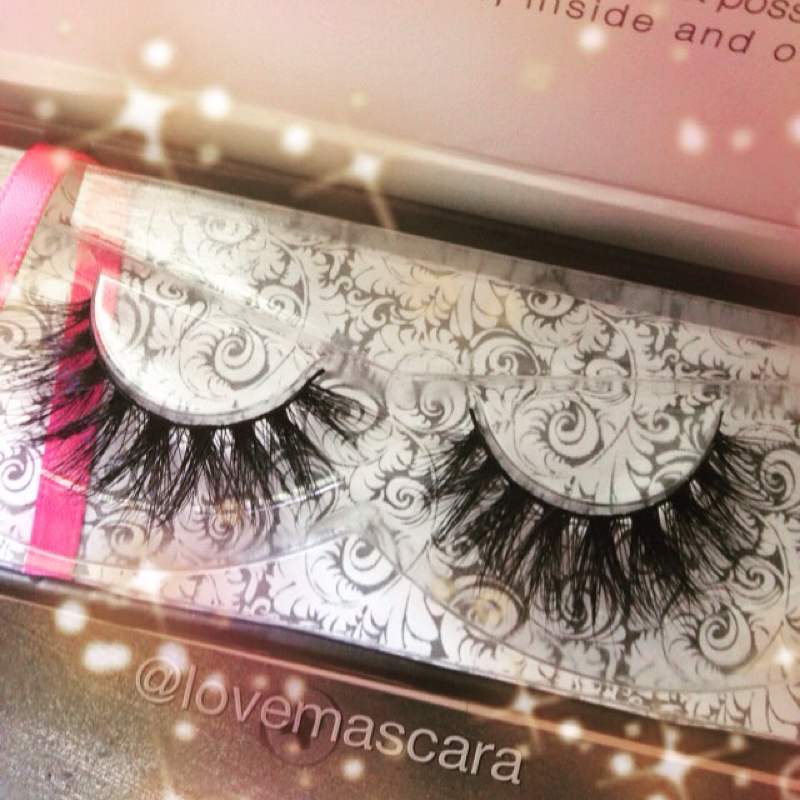
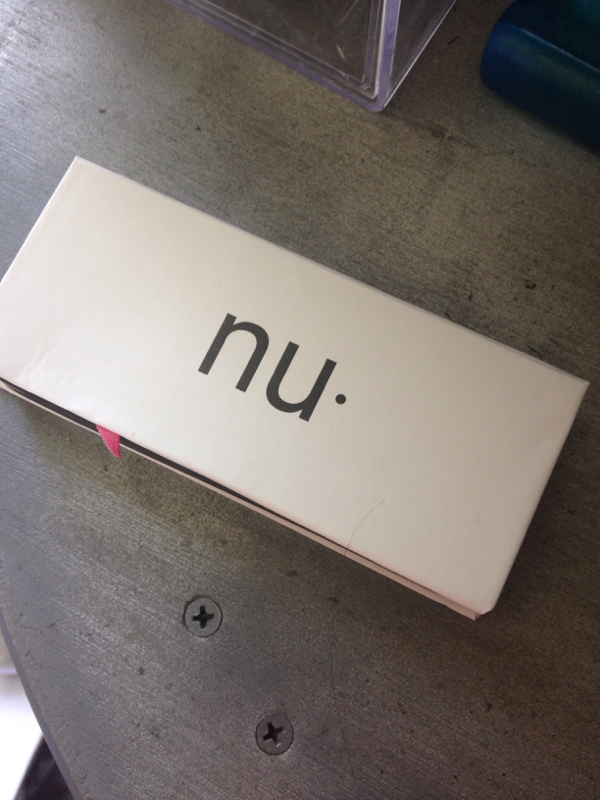
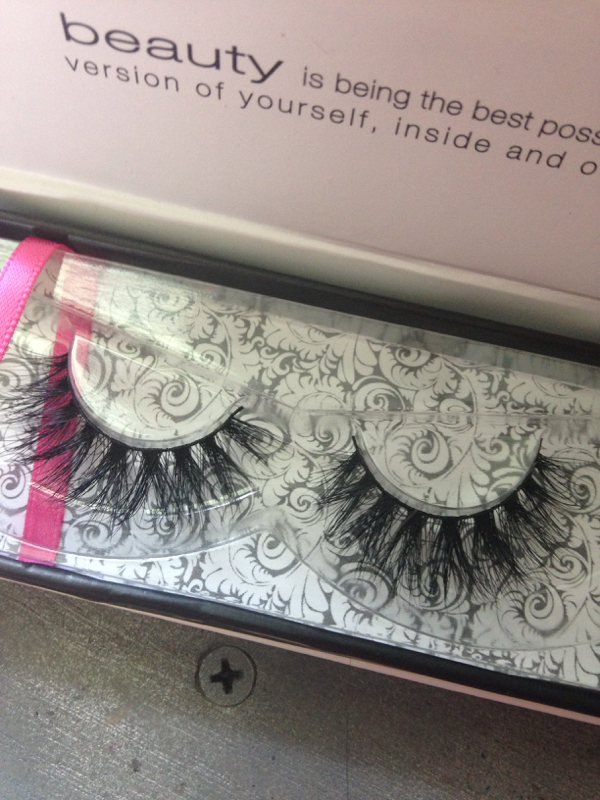
The swatches on the hand is Trap (left) original Ghoulish (right) Out of all of these they went on good. The only one I had a slight problem with was Zipper. It's much darker so getting it even and opaque was kinda hard. I got there though. They are soft on the lip. I actually thought it had wore off when I was wearing one today because my lips felt like nothing was on them but it was still going strong. With a lot of liquid lips you get a very dry feeling and they can crumble. As of right now this hasn't done that. However, if you do several coats of this then it could do that naturally. I ate and drank with one of these on and it didn't move. Some tips are to exfoliate and moisturize the skin. You can use a brush to carve out the lip if the applicator isn't precise as you would want. Use oil to remove it, it can be makeup removing oil, olive oil, whatever oil but that is what you need to take off liquid lipsticks. So that's that. Hopefully they'll be restocked very soon because for $6 this is a steal. I got some new mink lashes. These are by a company called Nubounsom they are 3D Mink Lashes in the style "Bella". 3D means that it's the layered look of the lashes. Not just one solid layer but several piled on top of each other. They are "handcrafted from custom designs by the finest manufacturers" as stated by the website. They are $34.99 but there are promo codes out there for at least 20% off. I know Manny MUA has one. I got these very fast, I'm always pleased with that. I also really appreciate that the company offers you different price ranges, there is 3D Silk which is also handmade from 3D silk fiber which are $14.99, there is regular mink lashes that are $19.99-$24.99, and then 3D Mink Lashes. They sell out kinda fast though, so they are pretty popular already so if you're interested in a certain style I would go ahead and get them. This is the packaging. It's clean and simple. The style name is on the side of the box. The are deep set in the box and I appreciate that as well. They're easy to remove from the plastic too so you don't damage the lashes. I'm wearing them in all these looks you can wear these up to 35 times, which is incredible. They are light and soooooo fluffy. I really do love them. The company is a very inspiring company anyway, they're awesome to follow on Instagram, very uplifting and always featuring their lashes on different people. (@nubounsom on IG) They're also on other outlets as well. I can say that these will be some of my favorites to wear.
|
ErinI'm from Tennessee. I'm a makeup and skincare lover. I have always enjoyed creating looks but I love to help people with product knowledge and application even more. I've been able to start blogging and do these things I love because God has seen fit to bless me with the opportunity. Thanks for stopping by and visiting with me! Categories
All
Archives
January 2022
|


 RSS Feed
