|
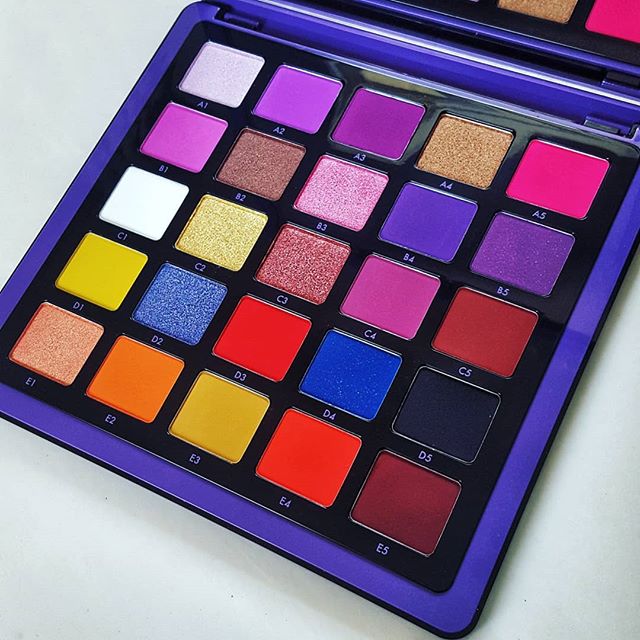
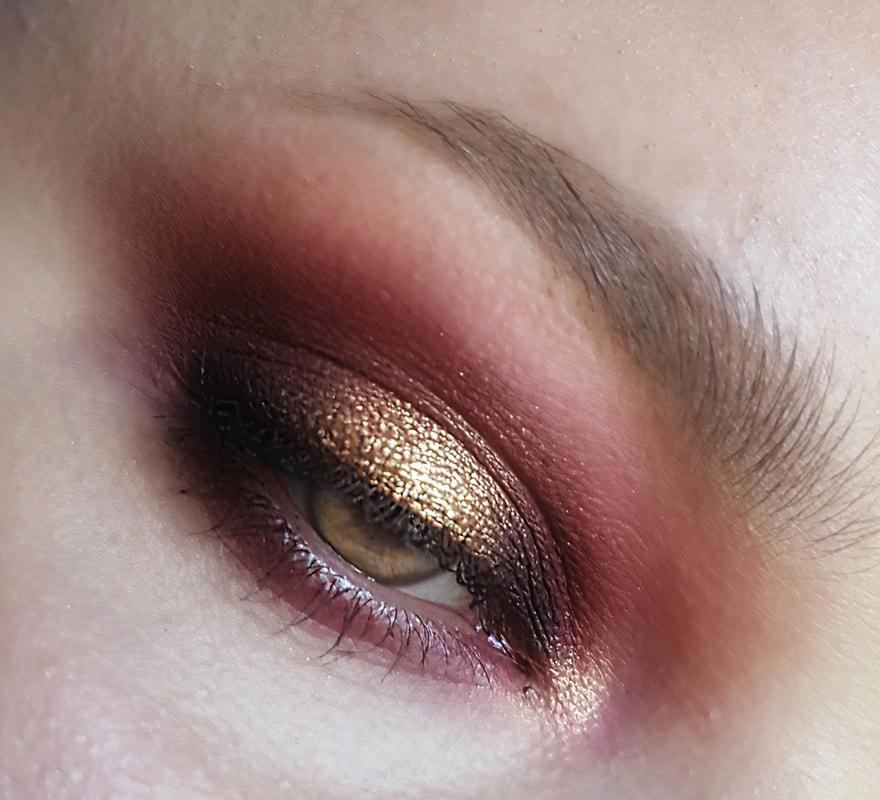
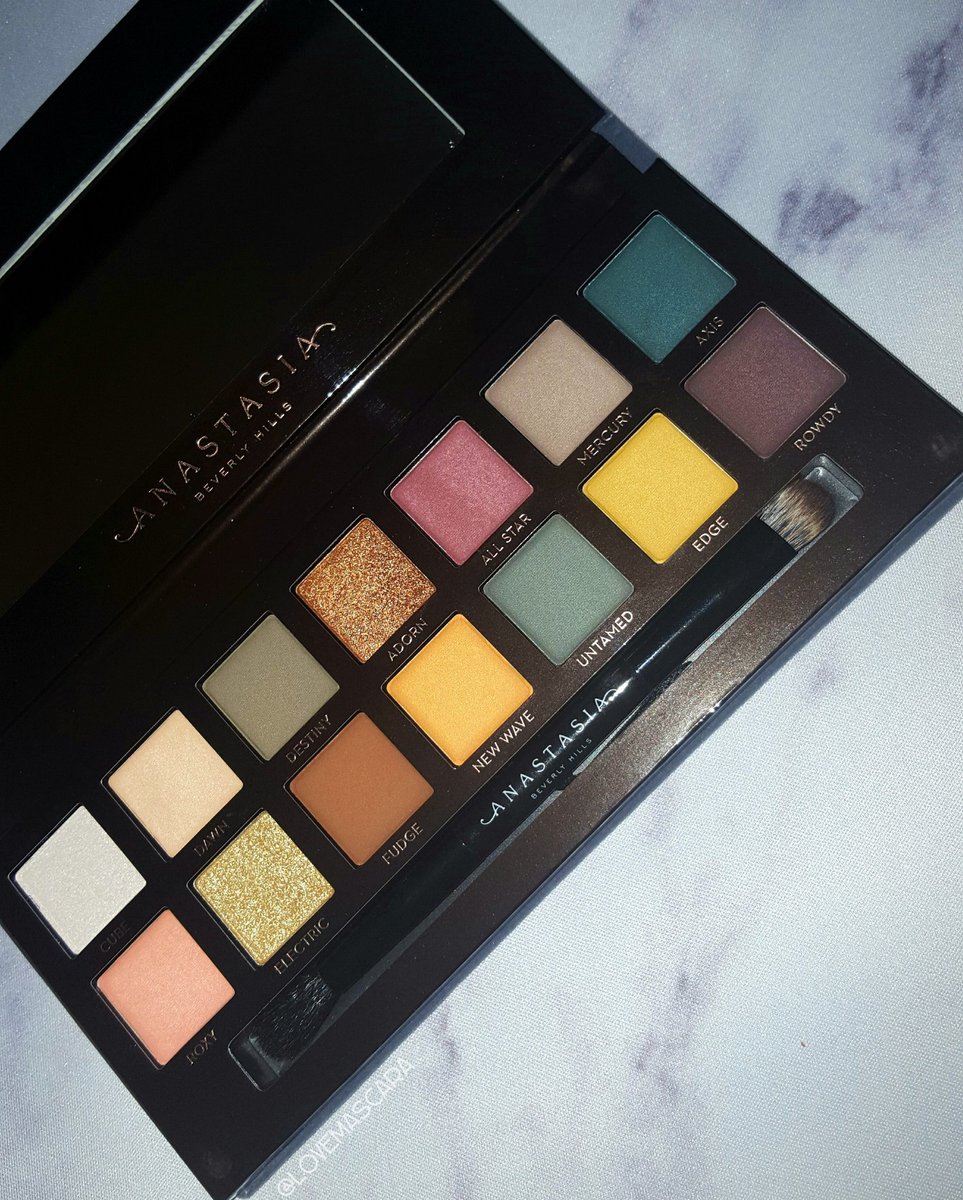
As you know this time last year, I was in the New Beauty "Beauty Report" magazine for my favorite palette which was the Norvina palette. Well now they've released the first palette of the new Norvina Collection. It's new, it's different from their normal releases, and it's heavy duty in color impact. So let's get into it.
0 Comments
Let's talk makeup. I recently got to try some more products from Touch in Sol. I've tried a few of their products before but this time I got to try their mascara and a different color in their Metallist Foil eye shadow duo. I had one but they sent me a different color so I thought it'd be neat to see how consistent the formula was. So lets get on with it!
If there is one brand that I use and talk about the most that would probably be JD Glow Cosmetics. They just absolutely blow me out of the water every time and I do not understand why more people aren't talking about them honestly. So let's get into my absolute favorites from this brand.
"Its the holiday season (the holiday season) so whoop dee doo and"......ok I'm obviously in the Christmas spirit! I thought it would be fun to do a quick round up of my fave red lip colors and formula that suits the Holiday season. I'm really in love with red lips right now so I think I'm gonna keep it going into 2018. Red is my new neutral. Ok maybe not, but I do love it right now.
Lets get into it. I'm going to include liquid lips, lip glosses, lip toppers and lipsticks. So hopefully there will be something for everyone. Well...here we are. Another Subculture palette review. This isn't going to be a typical review though. I'm going to interject some thoughts that I've had on my mind for a while.
I bought my Subculture palette myself. So this is my own money, it wasn't sent to me. The color scheme is unlike anything I've seen before. It arrived in one piece and not broken thank goodness because shit happens. You never know. It's well past time for a "Why Isn't Anyone Talking About This?" post. I've had a lot of skincare posts and campaigns lately and I love skincare probably more than any other "thing" or "possession" I have. I also love makeup though just as much, and sometimes that line gets a little blurred. Makeup was what started this blog and this journey so just wanted to clear that up.
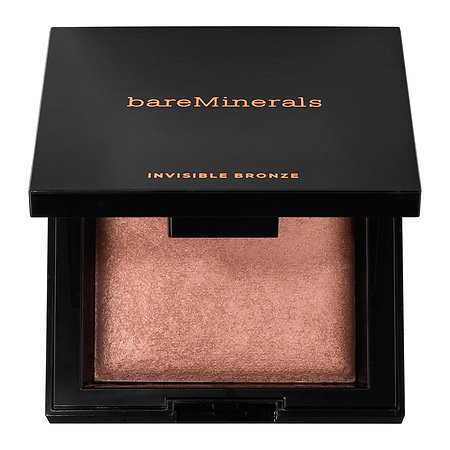
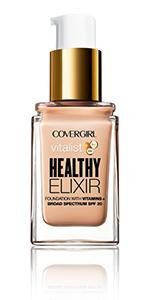
This time we're gonna talk about a product that I've actually been using for months. I kept waiting for everyone to start talking about it but no one ever did really. Or not that I've seen. I've only heard it mentioned a few times here and there. It's the Bare Minerals Invisible Bronze powder bronzer. Baked powder to be exact. I've not done a foundation review in a while so let's talk about a new "drug store" one I picked up recently. I'm gonna be the first to tell you that I am not the biggest fan of Covergirl makeup. Nothing personal at all it just never has worked out for me. There will however be a special place in my heart for my first compact (and piece of makeup) which was from Covergirl. So there is that.
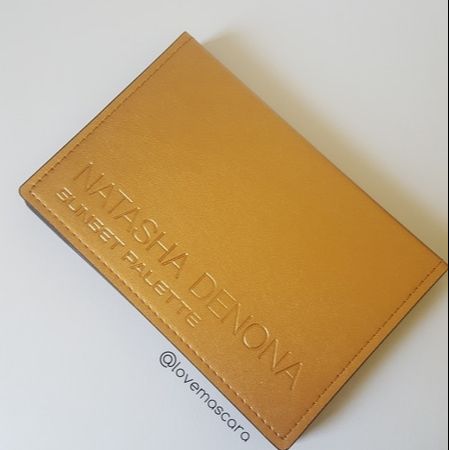
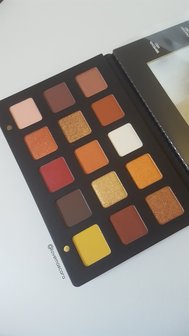
For the past year, Natasha Denona has slowly and surely taken the makeup world by storm with her eyeshadows specifically. Then she went on to release, God bless her, special palettes like the Star Palette was released around the holidays I think. Now she's released the Sunset Palette. Which as you can imagine with the name, is just a dream for warm, foiled, summer makeup. The palette doesn't disappoint for the group that loves a warm eye. It's beautifully laid out and the palette itself is sturdy and lovely with it's copper/bronze casing
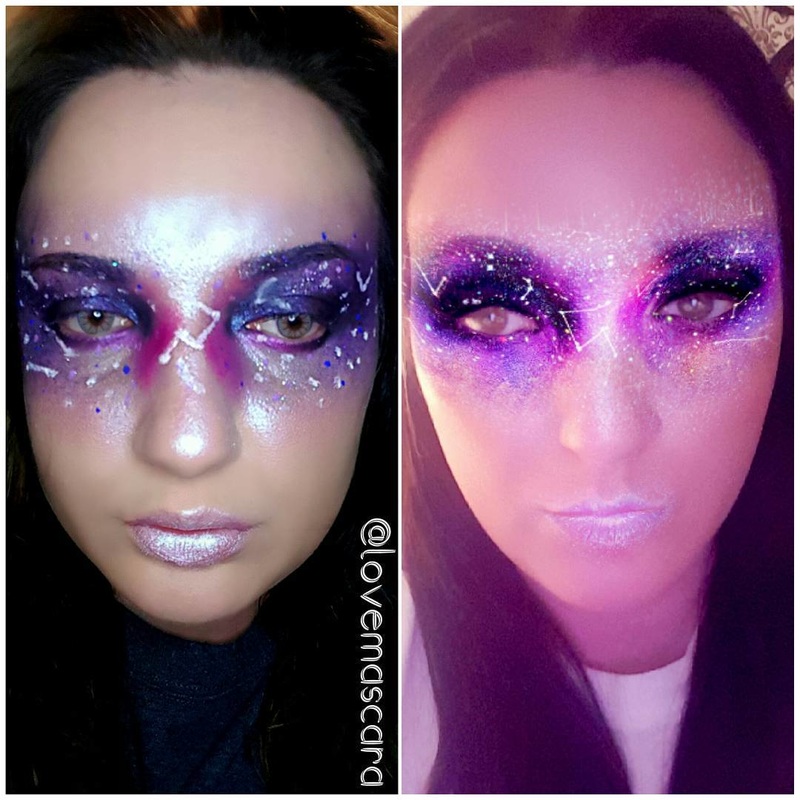
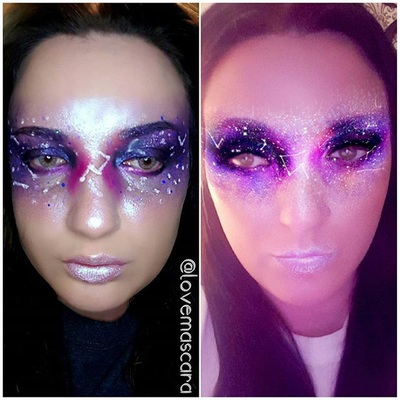
The next installment of my Snapchat Filter Series is the Galaxy Mask. This isn't one that everyone would choose I'm aware but to me it just looked cool. Granted unless you've seen the filter people might not know what you are. So keep that in mind.
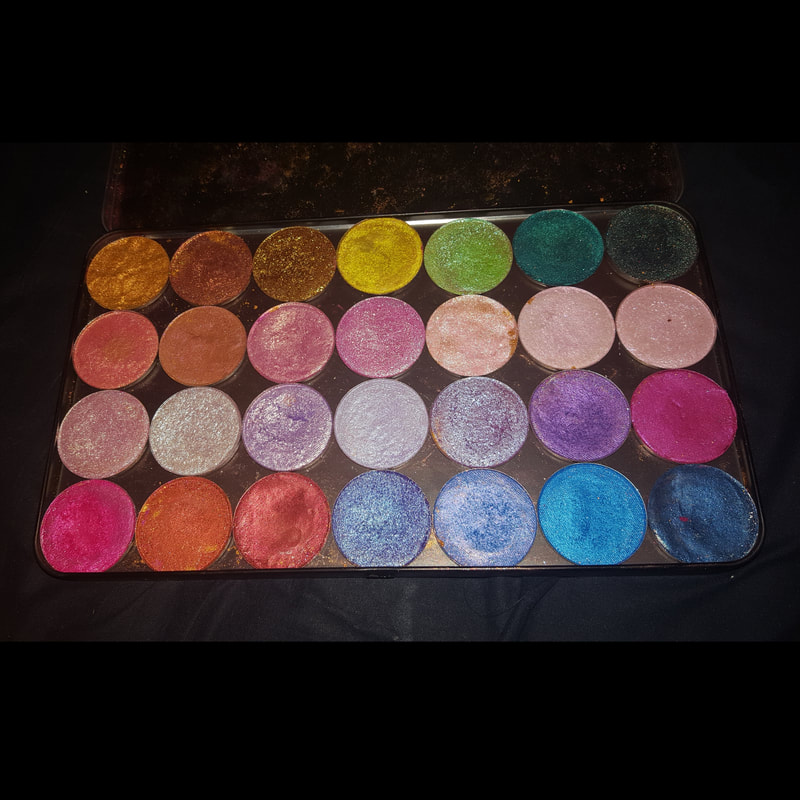
Getting straight into it. I use Milk Makeup Holographic Stick as my base. Which is a duo chrome cream. This whole look is going to rely on duo chromes, gliter, and pressed pigment shadows. You could actually do a lot more glitter than what I did. I just don't like putting too much glitter all over my face because it can be quite scratchy and also hard to get all that off. So I kept it on and around the eye lid. The shadows I'm using in this are actually called Galaxy shadows from JD Glow. Pretty much all the shadows I'm using are from JD Glow cosmetics. So for the pink and lighter areas like down the center of face, the forehead, and the outer areas of the mask is Pink Opal. Pink Opal is on the lips mixed with some gloss. For the purple I'm using Haze and Anomaly. Anomaly is mainly on the lid and Haze is around the eye. Atomic Pink is the pink on the sides of the nose and on the lower lash line as well. For the constellations and starts I used a white gel liner. When in all actuality I should've just used my Ben Nye Aqua paint. Which would've made all the constellations thinner and not as large as how mine turned out. Of course if you had a super opaque white liquid liner that would work wonderfully. My brows are basically not that defined, I just lightly filled them in with a brush. For extra sparkle I used MBA Cosmetics pressed glitter in Amethyst Moon, which is just a purple pressed glitter. A loose glitter would look great and work well but also other shades of glitter would look really good and more like stars like MAC Reflects Pearl, Violet Voss Wendy, so on and so forth. If you wanted to be extra you could also use really small rhinestones as well, sporadically. I also used some NYX Vivid Bright liquid liners in a lavender and cobalt shade for more dimension and extra "stars". This one is easy if you have the correct shades, you definitely need some sort of duo chrome for the base of the mask and then just shimmer shadows will work after that. So even if you just have a duo chrome pigment or eyeshadow, as long as it's over a cream base and a light shade, it should work just as good. I definitely recommend using a gloss that either is 90's Clueless frosty or just a regular gloss and then mixing in a frost eye shadow. So stay tuned for some more looks in the Snapchat Series! I am in no way, shape, or form, an expert or pro at Special Effects makeup, makeup artistry, Halloween Makeup, or Body Painting. HOWEVER, the plus side of me being not a pro is that I know what it's like to be a beginner and wanting to venture past the face paints in the Halloween aisle at Walmart (not hating, because some of them I do use as a base). So really just in the last two years is when I started looking at other brands and places and figuring out what does the best for me. So I do have some tips and tricks that I've picked up along the way.
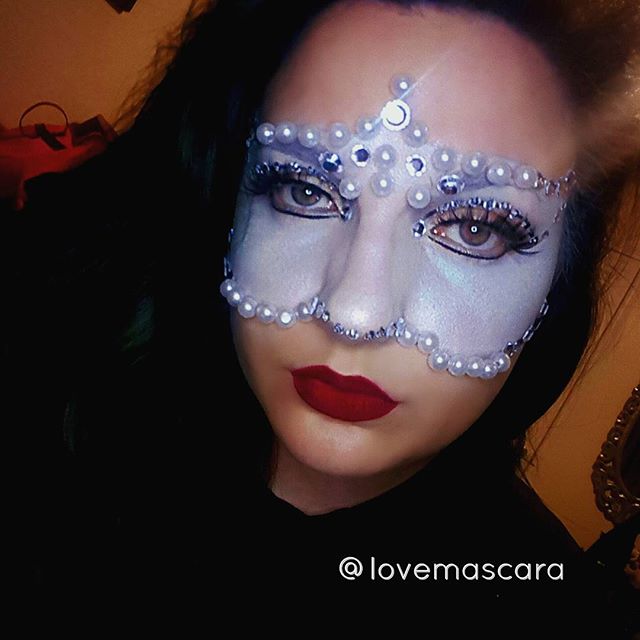
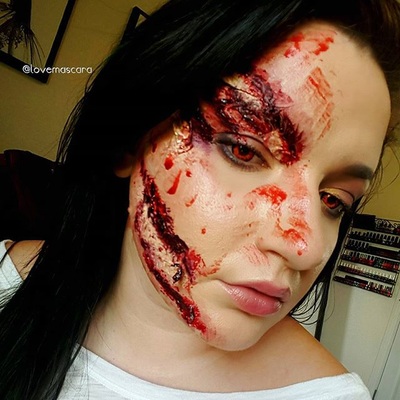
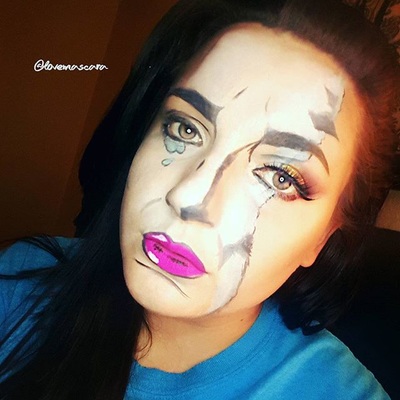
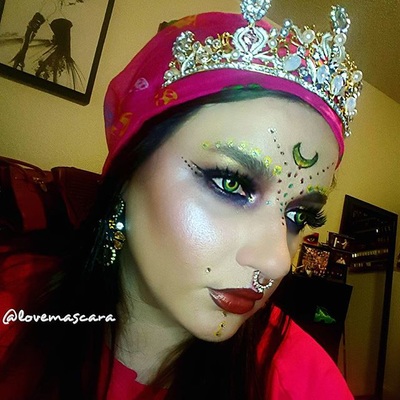
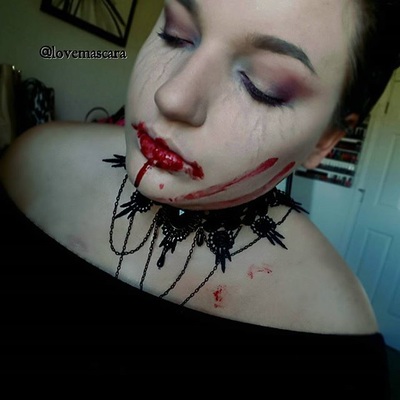
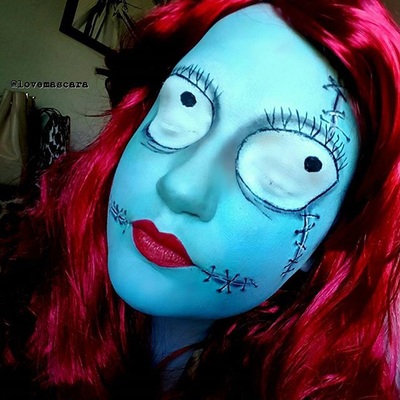
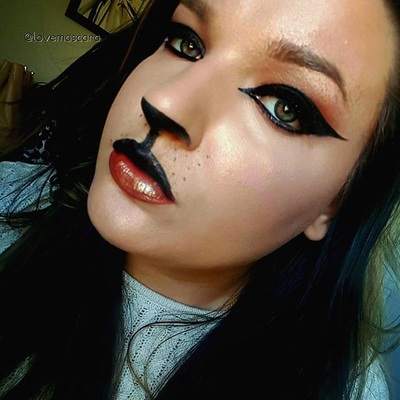
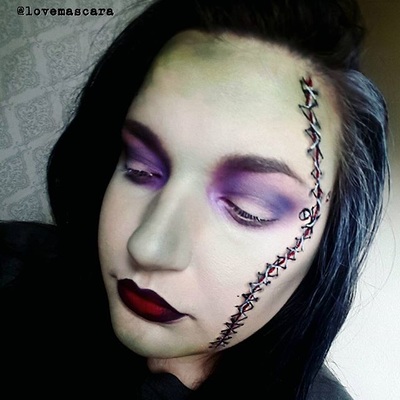
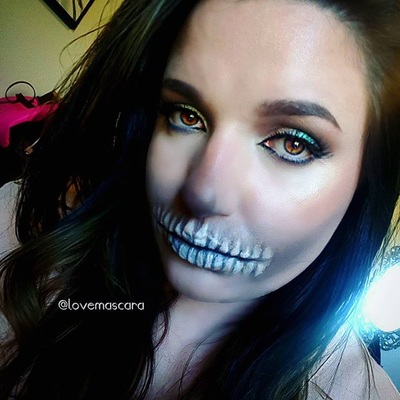
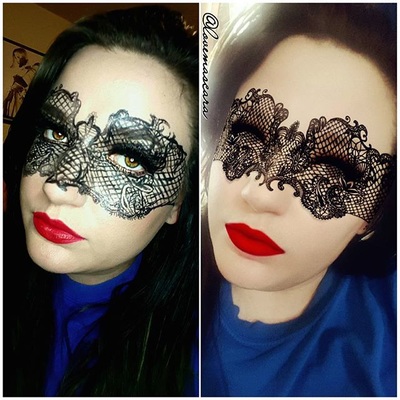
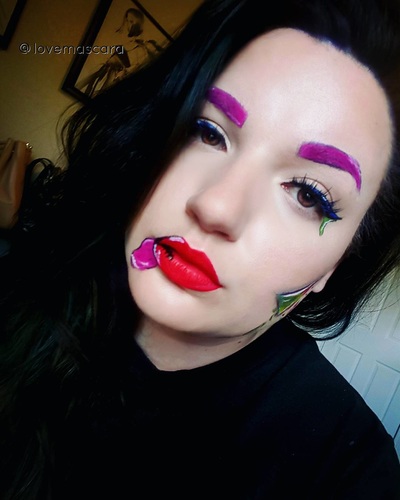
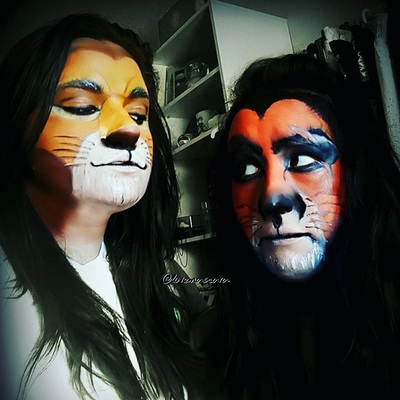
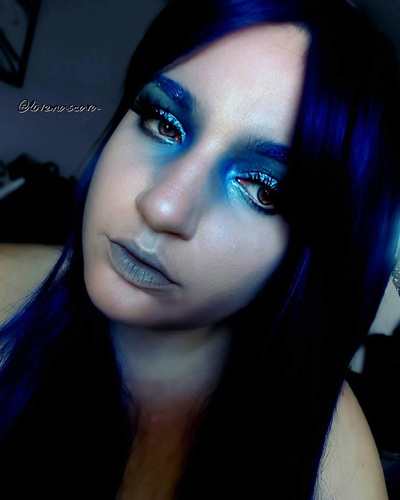
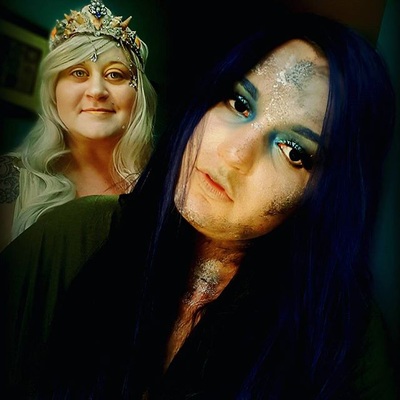
Tip 1 Don't disregard how useful actual makeup can be. For instance the NYX Jumbo Pencils are really good bases and there have been several times that I've used NYX Milk Jumbo Pencil as a white base for my entire face just make sure you set it with powder though heavily because it is a cream, it will heat up and smudge and move. So when they go on sale for buy 1 get 1 half off or whatever at Ulta I jump on that. They're great bases for eyes but also good from an artistry stand point. Also my go to, ride or die, ace, number 1, thing I use for detailing is liquid liner and my preference is Ardency Inn Punker Liner that is waterproof. I have an affiliate code I'll leave it below if you want to use it in the future to save some money. They are so good to me they know how much I love it and keep me STOCKED. I believe I have 3 right now. Keep in mind I use it EVERY TIME I do a themed look for Halloween, Snapchat Filter or whatever. Plus liquid liner is the absolute best for Leopard or Cat looks. It makes life so much easier in my opinion. Another thing I really like is contouring, no matter what color you need, with eyeshadows and a tapered contour brush. Also for shading and bringing dimension to things you've drawn to make them appear to be "on top of the skin" it's easier to use matte eye shadows that you have and brushes to shade. A really good person to watch for stuff like this and all around general bad ass-ness for Body Painting and Makeup Artistry is Jordan Hanz. She does 31 days of Halloween tutorials, she's a stickler for details and she's honestly taught me so much because she explains why she does this and that. I'll link her youtube channel here. Tip 2 What to buy. I'm gonna tell you if you're going into this as a person who's gonna do this more than just once a year buy some palettes. Get a Mehron palette. I have one that I got off Amazon from Mehron it wasn't expensive I think it was just $25 at most. It has 8 really good sized water activated paints. The second thing is a grease paint palette, or cream paint palette. Whether that is the Make Up For Ever flash palette, Color Wheels from Ben Nye are also a good choice and much less overwhelming and more cost efficient, iMagic also has a flash palette that I actually have as well and I have no complaints about it. It's available on Amazon and it's definitely the cheapest but looks dead on for the Make Up For Ever flash palette. I prefer to buy palettes that are primary and secondary colors which is bright colors like your basic blue, green, red. white, black. purple, so on so forth. Then if you want to get into flesh colored ones later you could but I'd rather buy those as singles or just use my RCMA palette. That's just me though. Now if you aren't sure you'd use that and don't want to have palettes just kicking around not being used I recommend getting single paints from Frends Beauty by brands like Global Colours, Ben Nye, Kryolan, etc. They have plenty of options and you're probably looking at like a $7-$12 price for one single color. If you don't already know you can sign up for a free membership with them and always get 10% off your purchase (no I'm not affiliated, I just try to save you all some money). Also Snazaroo has even more afforable single paints and palettes on Amazon. Tip 3 Water Activated vs Cream Paints. THIS..........took me a while to figure out my preference. I went for cream when I first started because I was more comfortable with that and I knew they would be full coverage. HOWEVER, I found that I prefer "water activated" paints much more because they can be very full coverage, the products lasts longer, and they dry down matte and don't have to be "set". You can also go over any patchy areas with a cream paint if you want more coverage. Or a lot of times you can "highlight" with a cream paint. Like if you painted you're whole face or body a cobalt blue, you could go over it messy like with a sky blue or a paler blue cream shade and that would bring your look from a flat one shade, to a more dimensional base without really having to do much like shading and what have you because you would already have that going on somewhat. It's all personal preference though, just remember to set the living crap out of cream paint with powder. Preferably a powder that is the same color as your cream paint. Just for that added color. Tip 4 Reference Picture. Whether you're re-creating an artist's work (by the way always give credit for that, it's just polite), or a drawing, cartoon, comic book, what have you. Have a picture nearby, pulled up, so you can look at it quickly and look often so that you know you're on par with what you're doing. Also, it'll make it easier for you to find places or ways to make the look you're own if you want to change it up, if space is an issue. For example I just did the Bride of Frankenstein and I had a reference picture for the stitches but it didn't mean that I did every single detail like the picture. I made it my own by choosing to add in eyeshadows, a sculpted brows, ombre lip but still keeping to the traditional stitch line, screws on the temple and the major identifiers that signify that "yes, that is a Bride of Frankenstein look". Tip 5 Buy separate brushes for artistry and special effects like blood or whatever. This isn't exactly necessary it's just my preference that I find has made things easier for me. I buy actual art brushes and I also buy separate sponges. I get the sponges on the stick in the craft section even. They make for really great "texture looks" with water activated paints. The synthetic artist brushes work really well with fake blood but it's almost like a putty so it can ruin a brush if you aren't careful to wash it pretty quickly. I don't use these brushes for blending or shading with powders just when I'm dealing with water activated paints or sfx products like blood, dirt, mud or whatever. Tip 6 Using adhesive. I apply adhesive with a disposable wedge sponge. If I didn't have liquid latex or something I've used eyelash glue several times and it works really well for minor things. It's not gonna hold very heavy things but for my Pearl Mask I used eyelash glue and it done well. Liquid latex is a bit more stout. If you are allergic to latex you can use gelatin, makeup wax, spirit gum. Some people use Elmers Glue or white glue. To each their own I guess. Also when using it, try to work in small sections. For instance if you want it to look like skin is peeling or whatever take tissue paper and tear it into little pieces, then glue it and then paint it. You may have to add glue over top of it before you paint it. For textured looks or building up features like more prominent cheek bones, or a large swollen bruise use torn cotton and work in layers: glue, apply, glue, apply, glue, apply till you get the shape and height that you want. Tip 7 Don't be afraid to use blood. Blood is very cool to work with and it can take an "ok" scary/gory look and turn it into a more detailed real like effect, that looks far more detailed and complicated than what it actually is. The best thing I ever bought was Ben Nye Thick Blood that I got from Frends Beauty, it's very much like a jam/putty texture and I love it. I also use regular ol' vampire blood from the halloween aisle at Walmart when I need a thinner blood to run, or splatter, or whatever. If you don't want to go that route another thing that I used to do is start with a black shadow for the center of the cut or whatever, then use a burgundy shadow around it to show irritation to the skin, then start adding red liquid lipsticks in different shades, red cream lipsticks to add different texture and then glosses to give the bloody effect and it worked just fine. So those are all my tips. I hope you have a happy and safe Halloween. I'm gonna leave some of my fave looks from this year at the bottom. Enjoy!! **Affiliate codes:** Ardency Inn "LOVEMASCARA" FOR 15% OFF Be Biotin Hair Vitamins "LOVEMASCARA" for 25% off |
ErinI'm from Tennessee. I'm a makeup and skincare lover. I have always enjoyed creating looks but I love to help people with product knowledge and application even more. I've been able to start blogging and do these things I love because God has seen fit to bless me with the opportunity. Thanks for stopping by and visiting with me! Categories
All
Archives
January 2022
|


 RSS Feed
